

Pushing and Pulling Film: Understanding and Experimenting with Film ISOs

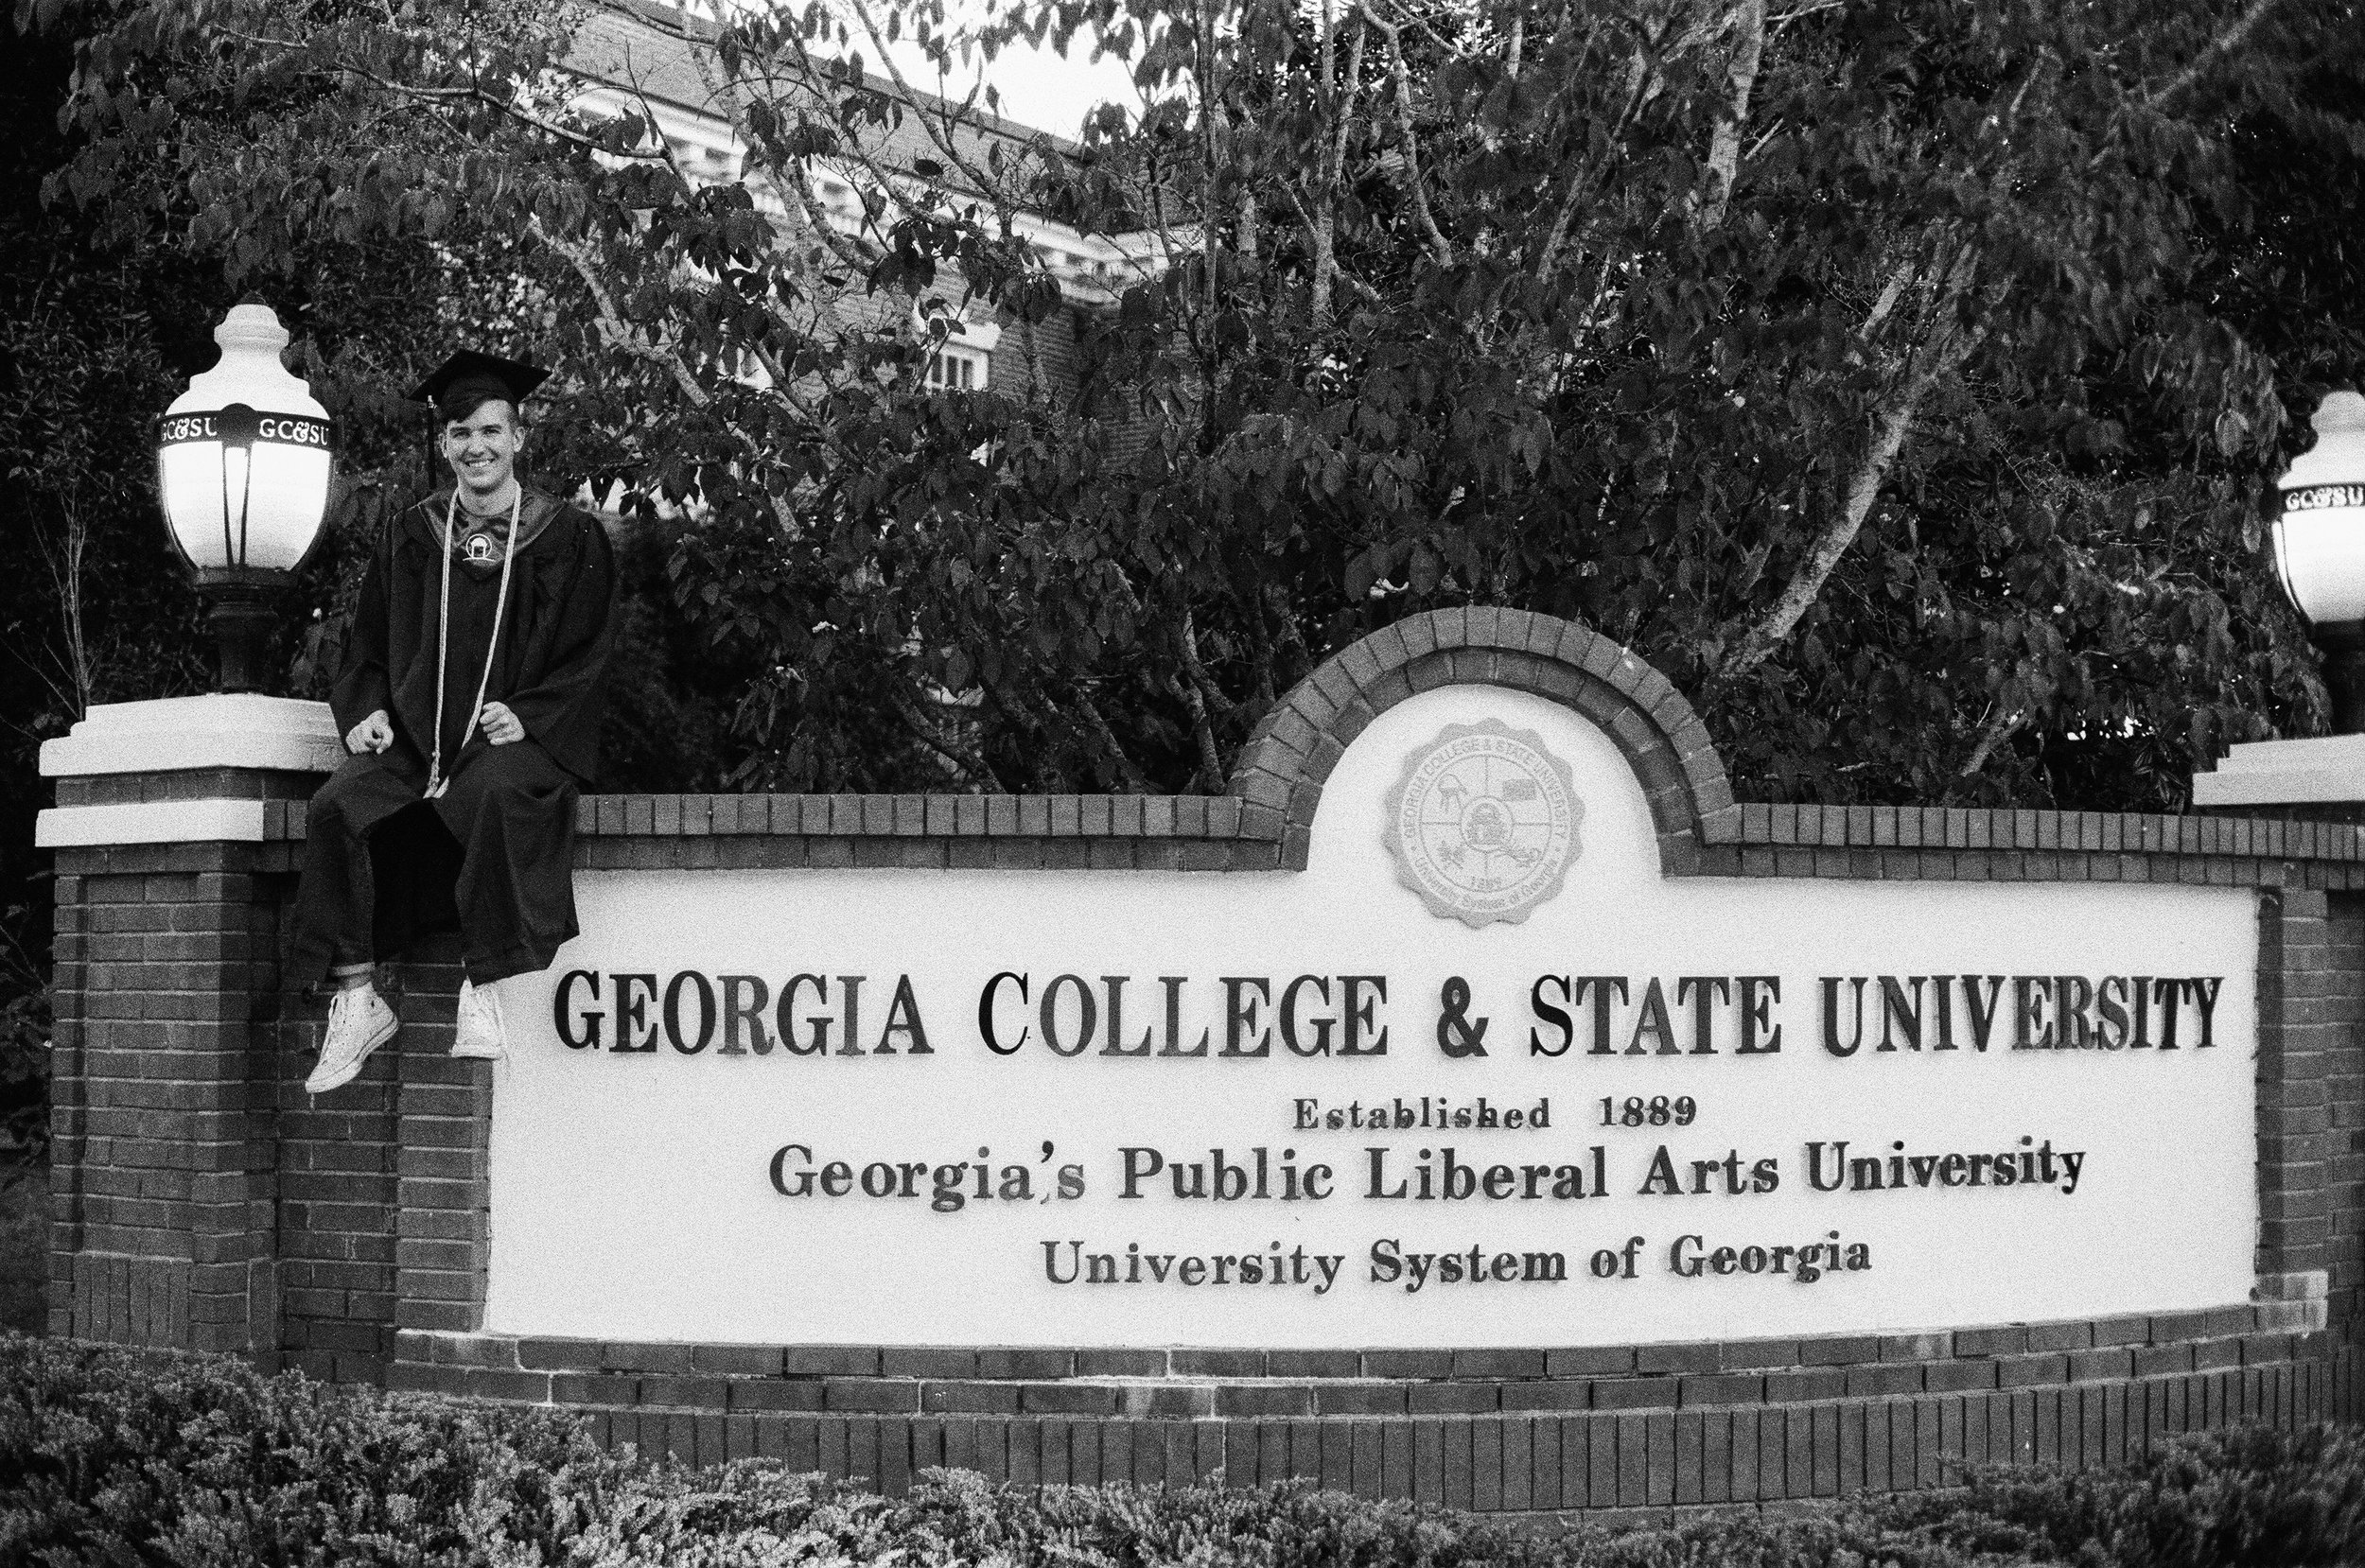
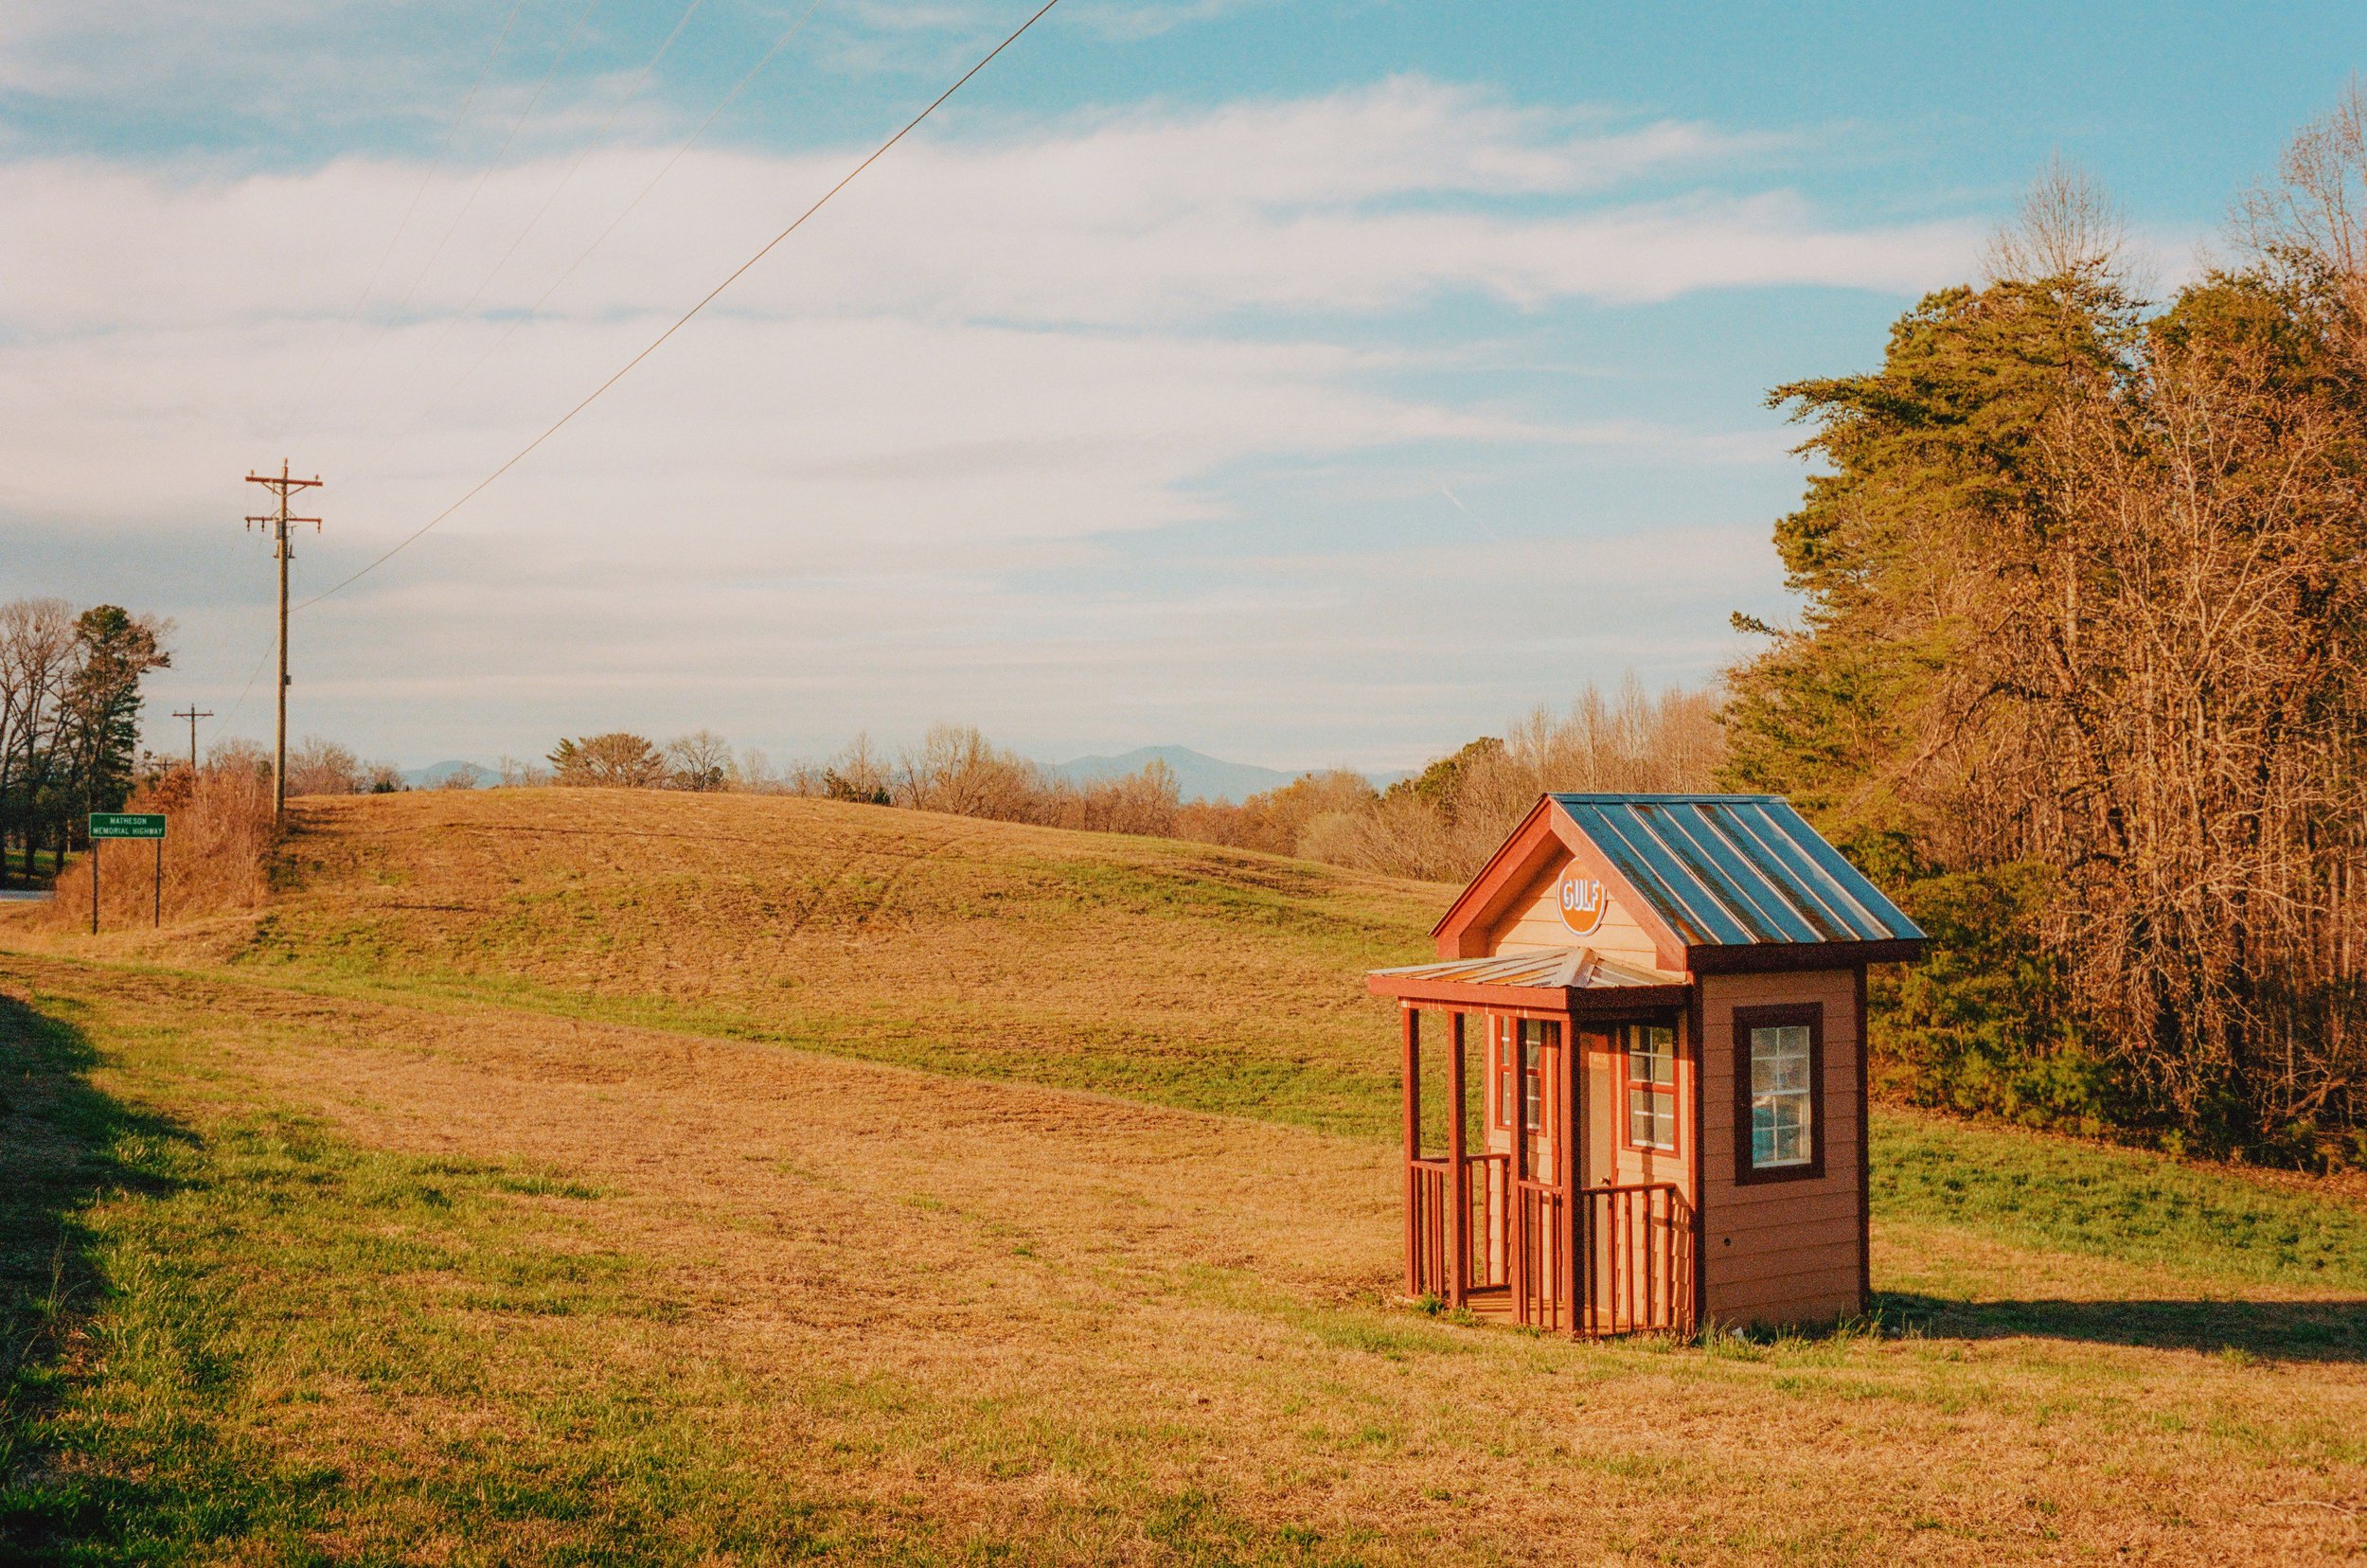
Cinestill 800T +1
In the digital age of photography, it's easy to overlook the artistic potential of analog film. While digital cameras offer convenience and instant gratification, film photography continues to thrive, as many photographers, including myself, appreciate its tactile experience, unique aesthetic, and the element of surprise that comes with waiting for film to be developed. One aspect of film photography that allows for a great deal of experimentation and creativity is the manipulation of film ISOs, also known as "pushing" and "pulling" film. These techniques enable photographers to explore new creative possibilities and expand their artistic boundaries by altering the exposure and development process.
Pushing and pulling film is not just a method to compensate for challenging lighting conditions, but also a way to create intentional, artistic effects in your images. By manipulating the film's ISO rating and adjusting the development process, photographers can achieve different levels of contrast, graininess, and tonal range in their photographs, giving them a distinct and unique look. This can be especially valuable for those looking to establish their own visual style or to experiment with the boundaries of traditional photography.
In this blog post, we will delve into the concepts of pushing and pulling film, understand their effects on film photographs, and discuss how you can experiment with these techniques to create unique and captivating images. By the end of this post, you will be equipped with the knowledge and inspiration to start exploring the creative potential of pushing and pulling film in your own photographic work.
Understanding Film ISOs and Grain

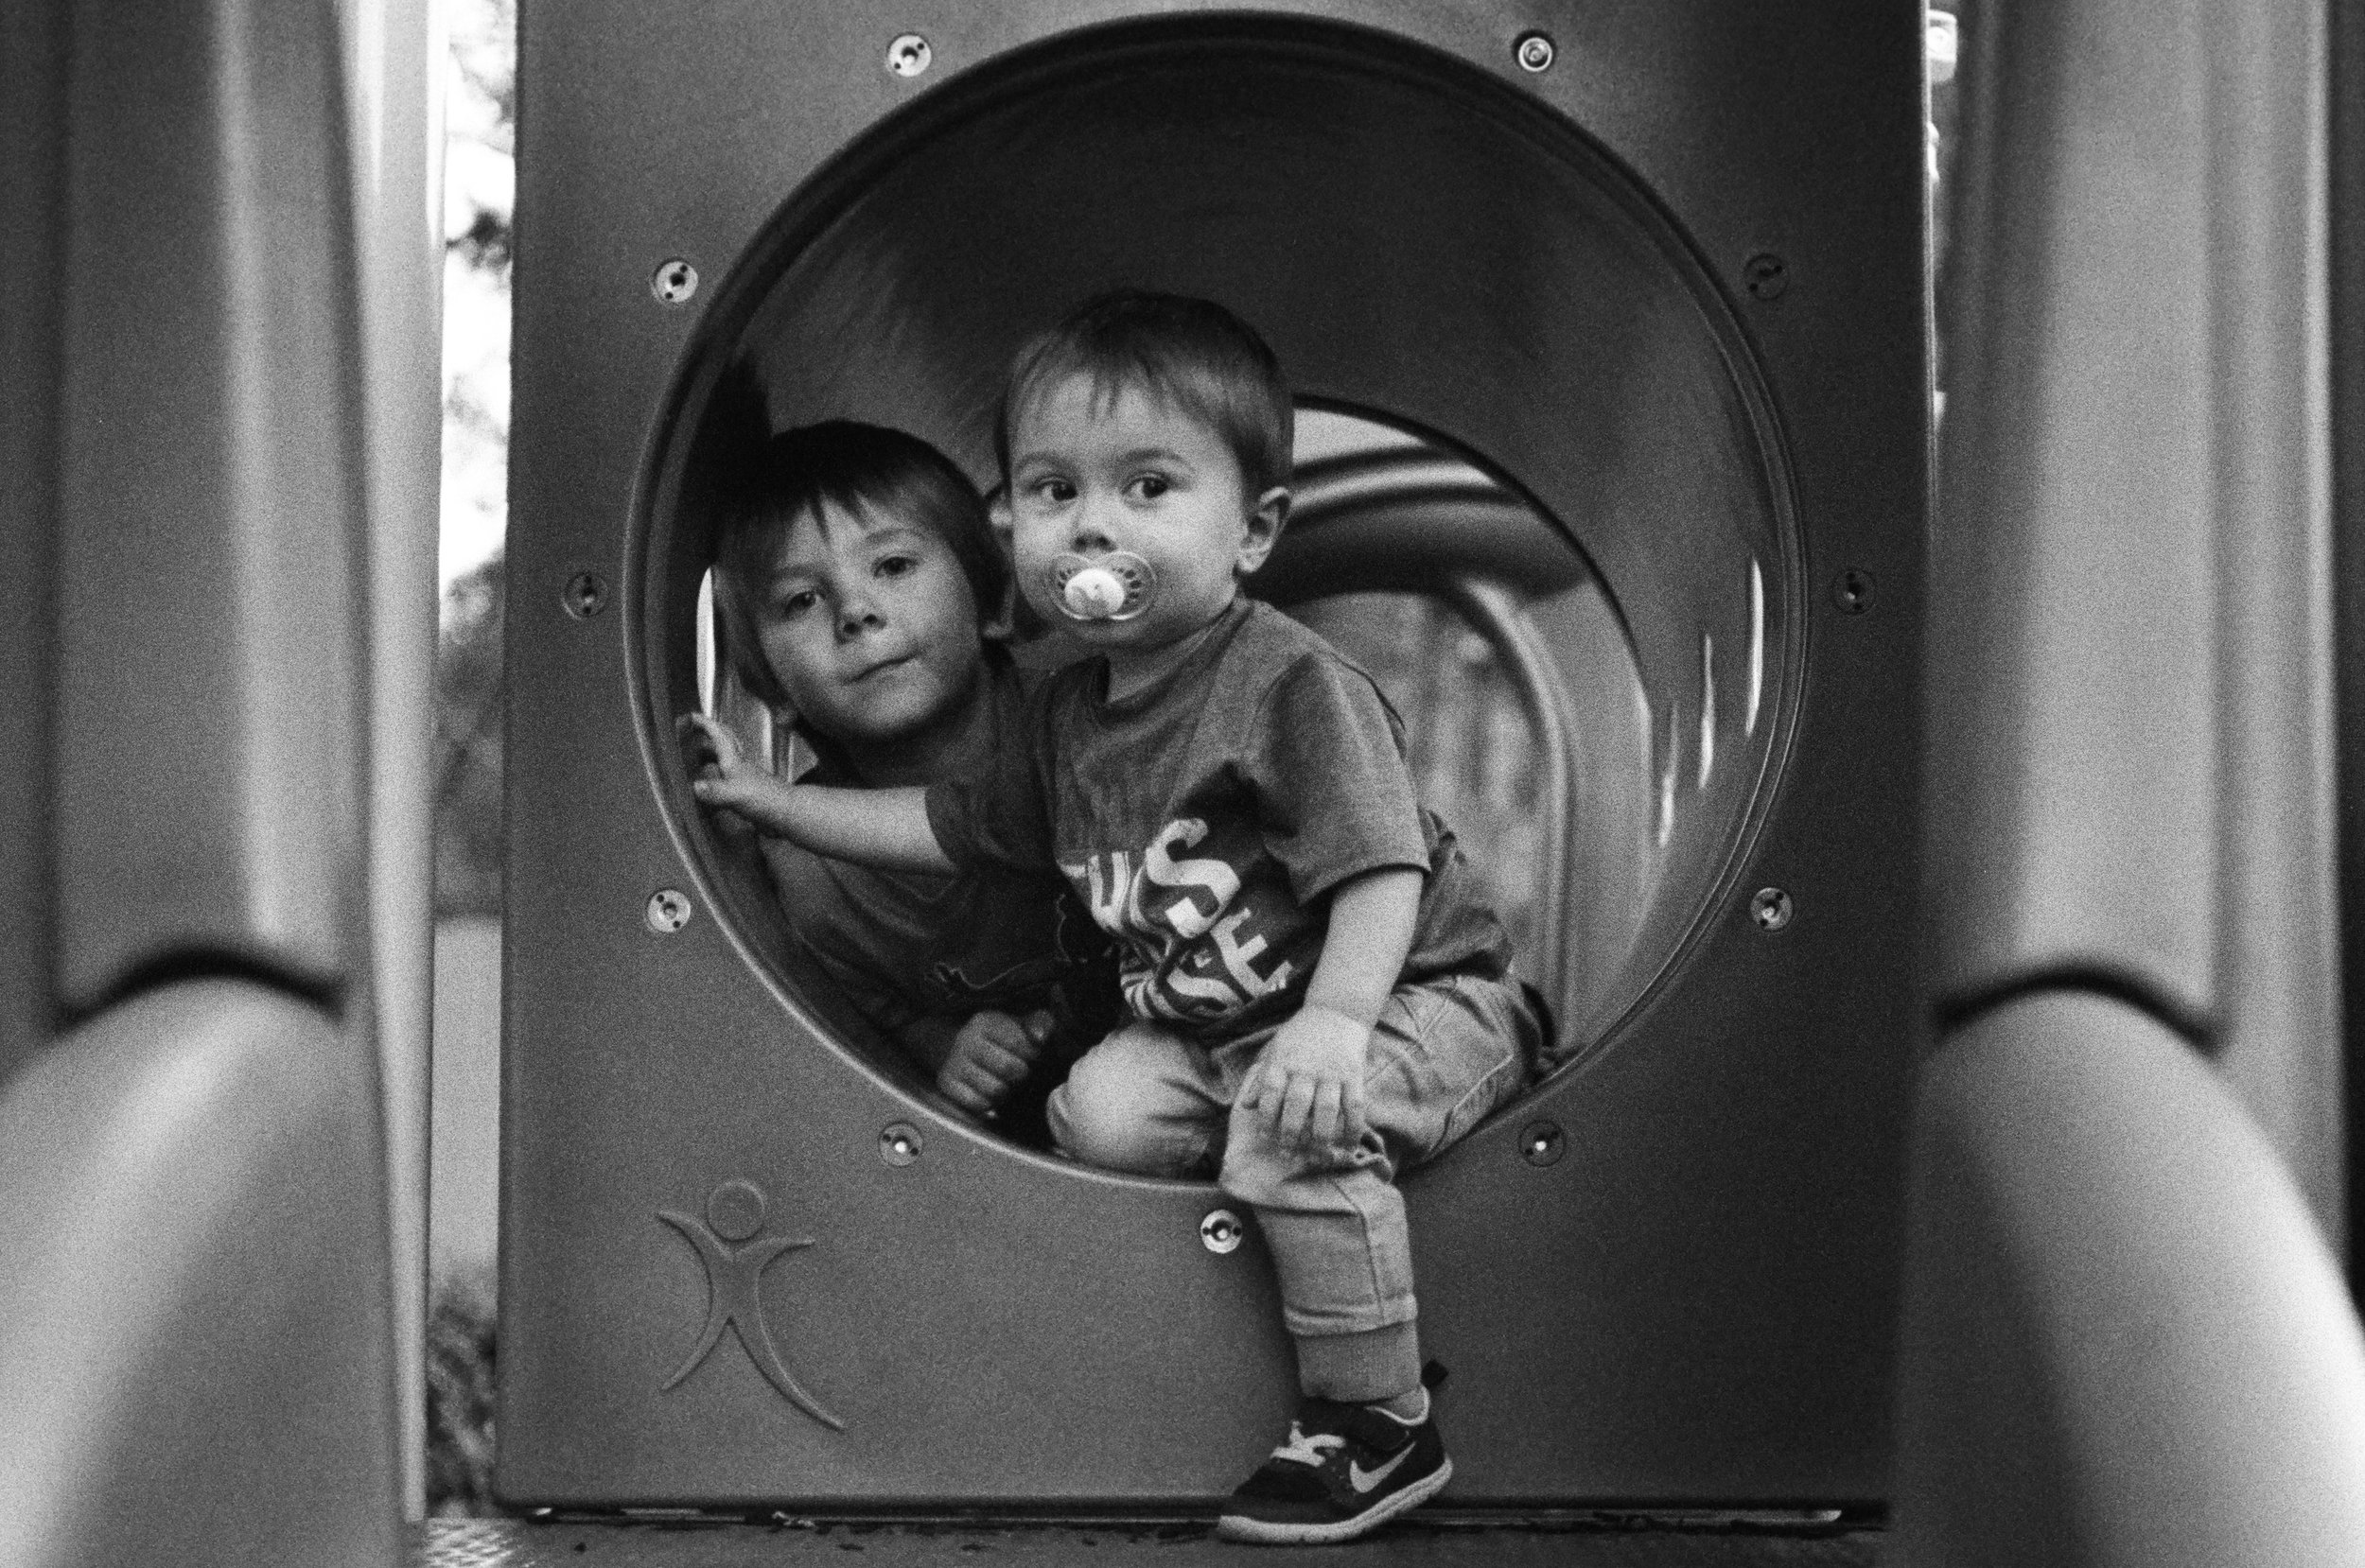
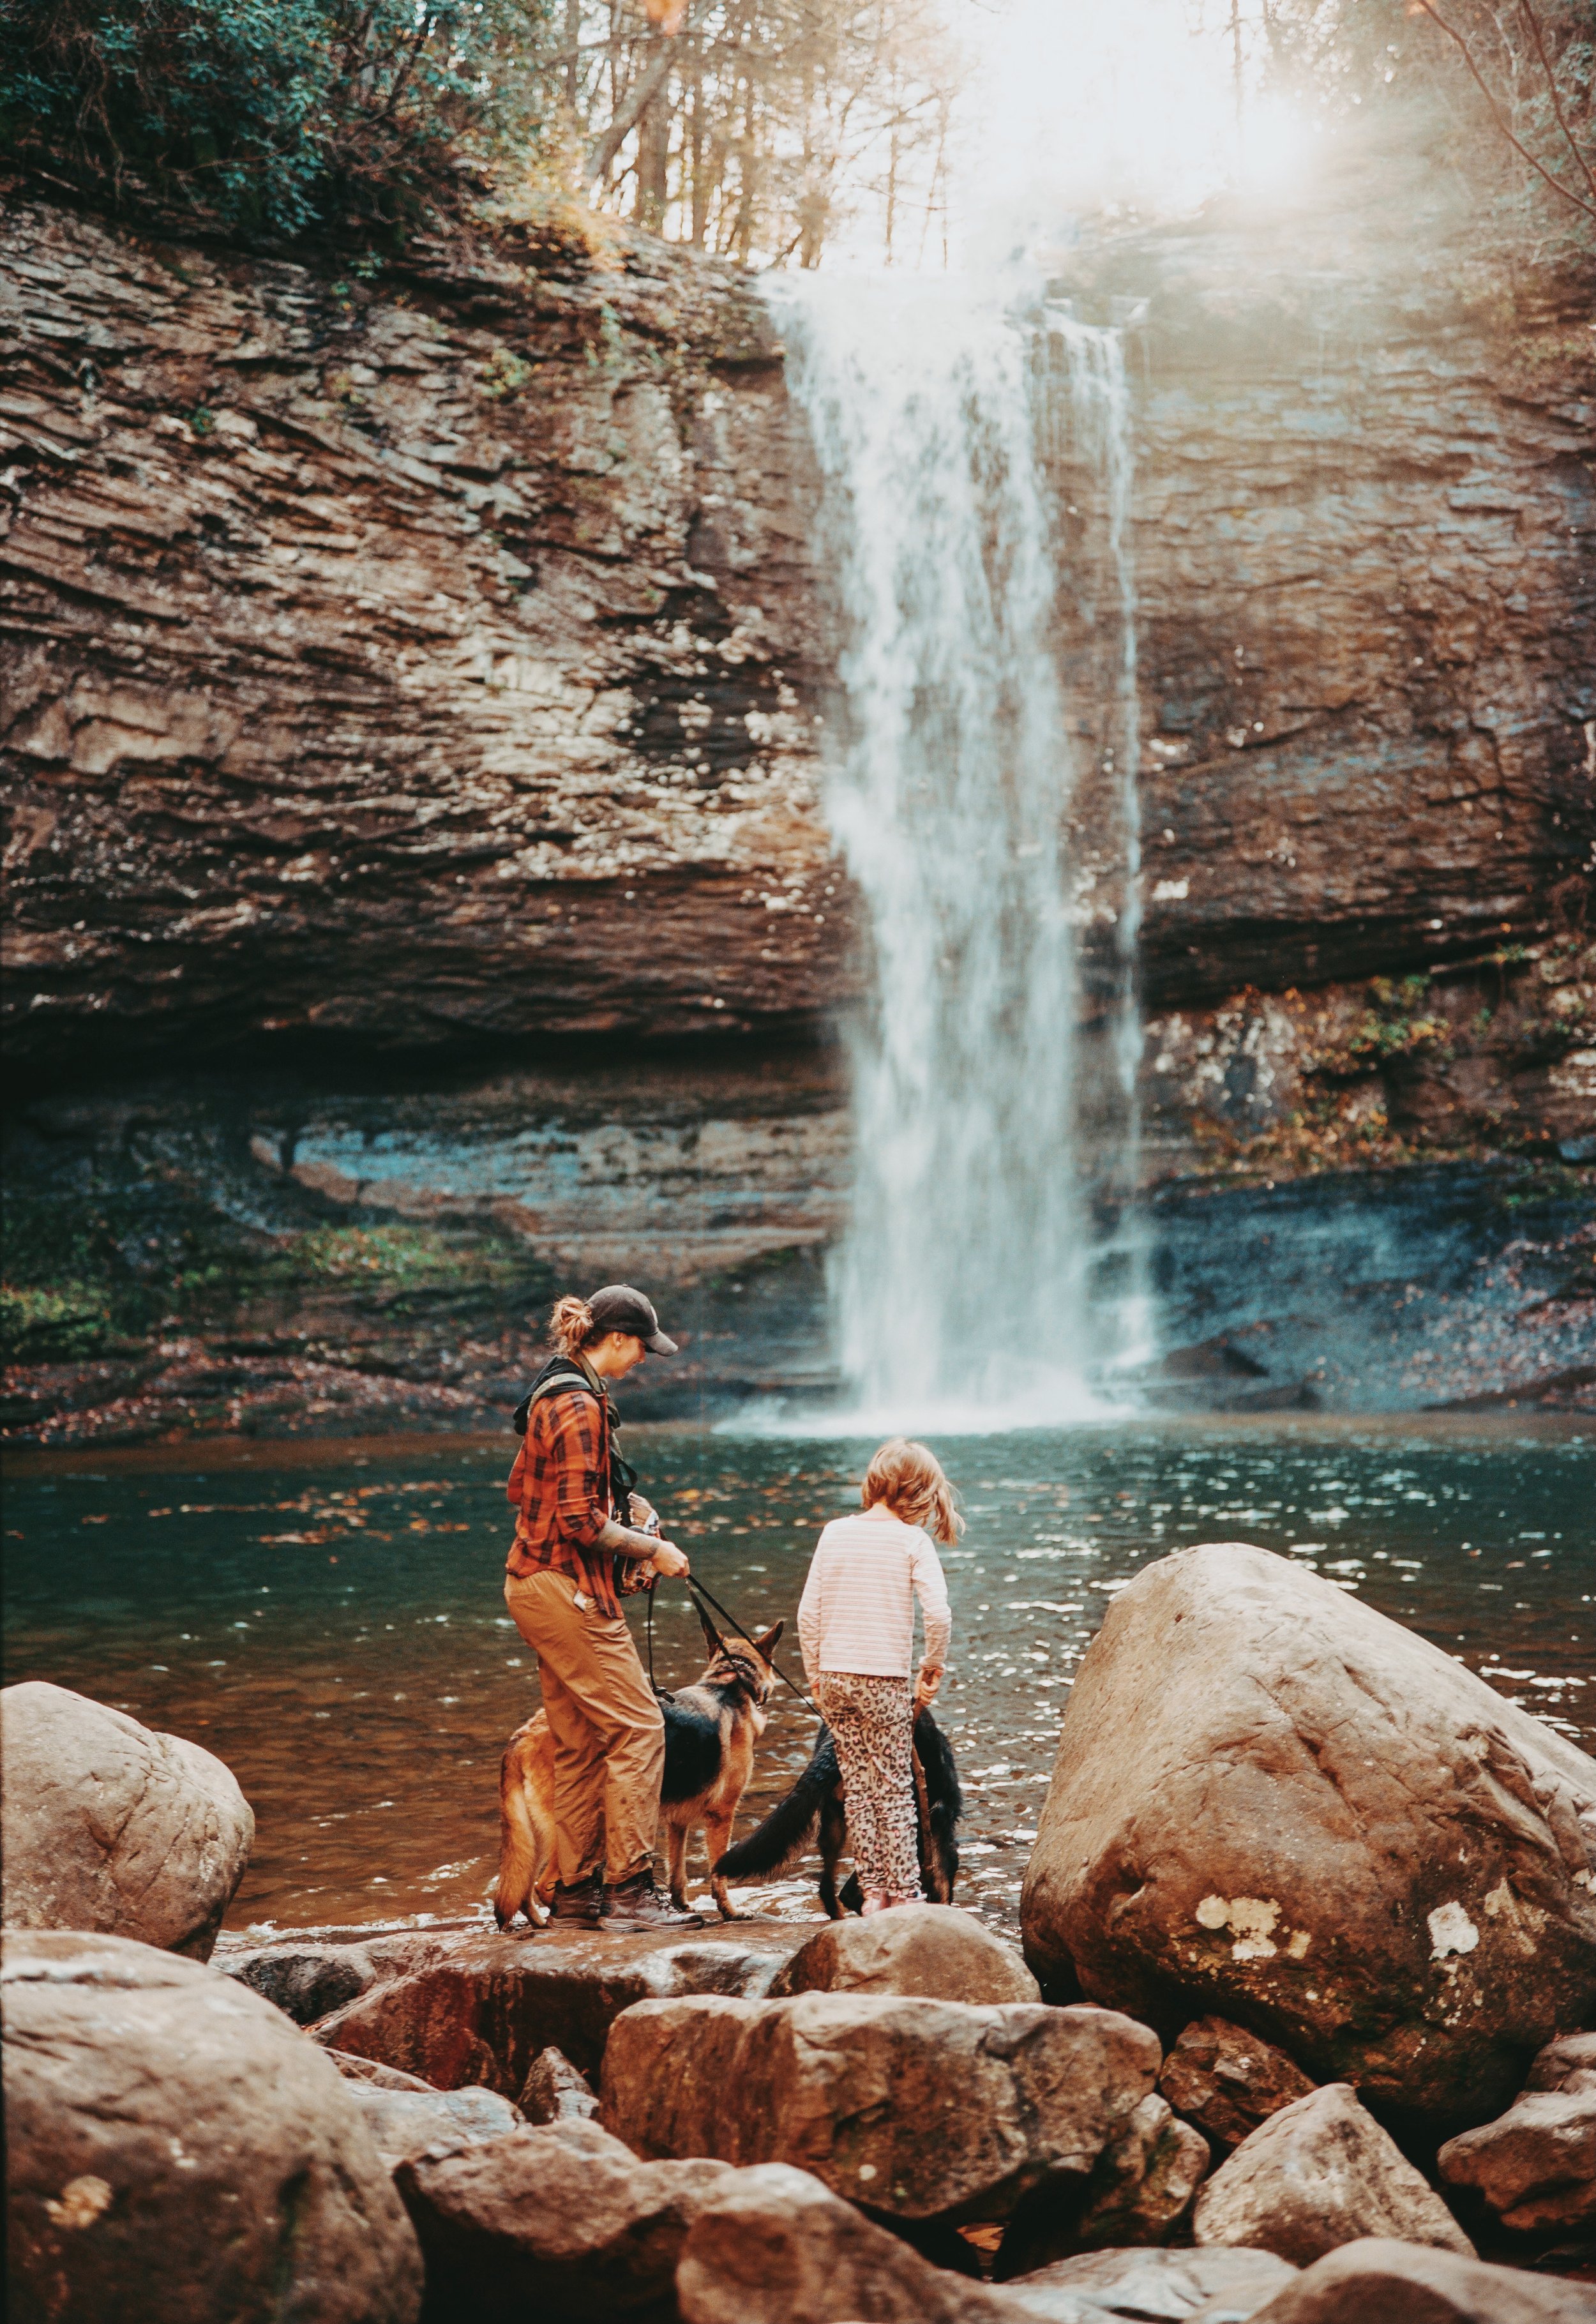
Portra 400 +1
Before we dive into pushing and pulling, it's important to have a basic understanding of film ISOs and the role of grain in film photography. ISO (International Organization for Standardization) is a standardized measurement of film sensitivity to light. The higher the ISO number, the more sensitive the film is to light, and thus the less light is required for a proper exposure. Conversely, a lower ISO number indicates a less sensitive film that requires more light for a proper exposure.
The ISO rating of a film is closely related to the amount of grain present in the resulting images. Grain is the visible texture in film photographs, formed by the silver halide crystals in the film emulsion. These crystals are light-sensitive and are responsible for capturing the image. The size and distribution of these crystals have a direct impact on the level of graininess in the final photograph.
Low ISO Films (e.g., ISO 50, 100, 200) Low ISO films have smaller, more tightly packed silver halide crystals, resulting in a finer grain structure. This means that photographs taken with low ISO films tend to have smoother textures, more detail, and less visible grain. However, they require more light for a proper exposure, making them less suitable for low-light or fast-action situations.
High ISO Films (e.g., ISO 800, 1600, 3200) High ISO films have larger, more loosely packed silver halide crystals, resulting in a coarser grain structure. This means that photographs taken with high ISO films tend to have more visible grain, which can contribute to a distinct aesthetic or a sense of atmosphere in the image. High ISO films are more sensitive to light, making them better suited for low-light or fast-action situations, but at the expense of increased graininess and potentially less detail.
Grain can be both an asset and a limitation in film photography, depending on the desired aesthetic and context. Some photographers embrace the grainy quality of high ISO films for their artistic value, while others prefer the smoother, more detailed appearance of low ISO films. Understanding the relationship between ISO and grain can help you make informed decisions about which film to use for a particular project or desired outcome, as well as how to experiment with pushing and pulling to achieve specific effects.
Pushing Film


Pushing film is a technique that involves intentionally underexposing the film by setting your camera to a higher ISO than the film is rated for, and then compensating for this underexposure during the development process. This is achieved by increasing the development time, which amplifies the exposure and effectively increases the film's sensitivity to light. Pushing film can be a creative choice or a practical solution in low-light situations where a faster film is needed to capture the scene. Understanding the various effects of pushing film can help you harness its full potential and create images with unique characteristics.
Effects of pushing film:
A. Increased contrast: Pushed film tends to have higher contrast, with darker shadows and more pronounced midtones. This can result in images with a more dramatic, moody appearance. The increased contrast can be particularly effective in emphasizing certain elements within the frame, such as textures or patterns.
B. Increased graininess: The process of pushing film amplifies the grain structure, resulting in a coarser, more textured image. This can add a sense of atmosphere, nostalgia, or a vintage feel to the photograph. For some photographers, this graininess is a desirable aesthetic that lends a unique quality to the images. Experimenting with different levels of pushing can help you find the perfect balance between graininess and image quality for your specific creative vision.
C. Enhanced shadows and midtones: Pushing film can help bring out details in shadow areas and midtones, making them more visible and pronounced. This is particularly helpful in low-light situations where capturing detail in these areas may be difficult. By pushing the film, you can ensure that important elements in the shadows and midtones are not lost, while still retaining the overall atmosphere of the scene.
D. Possible loss of detail in highlights: One downside of pushing film is the potential for loss of detail in the brightest parts of the image, as the highlights can become overexposed and washed out. To mitigate this issue, be mindful of your exposure settings when shooting, and consider bracketing your exposures to find the optimal balance between highlight preservation and the desired effects of pushing film.
Techniques for pushing film:
Choose the right film: To achieve the best results when pushing film, it is important to choose a film that is known for its flexibility and latitude. A lot of black and white films, such as Kodak Tri-X and Ilford HP5+, are particularly well-suited for pushing, as they can handle the increased development times and maintain a pleasing grain structure.
Metering and exposure: When pushing film, set your camera to the desired higher ISO rating, and meter accordingly. This will result in underexposed images on the film, which will be compensated for during the development process. Ensure that you are using a reliable light meter, either in-camera or external, to achieve accurate exposures.
Development: To compensate for the underexposure, increase the development time during the film processing stage. This will vary depending on the specific film and developer used, as well as the degree to which the film is being pushed. Consult development charts and resources for guidance on the appropriate development times for your chosen film and developer combination (make sure to tell your lab if you aren’t developing it yourself).
Pulling Film


Pulling film is the opposite technique to pushing film. It involves intentionally overexposing the film by setting your camera to a lower ISO than the film is rated for and then compensating for this overexposure during the development process. This is achieved by decreasing the development time, which reduces the film's sensitivity to light. Pulling film can be a creative choice or a practical solution in high-contrast or very bright situations where a slower film is needed to retain detail in the highlights and shadows. Understanding the various effects of pulling film can help you harness its full potential and create images with unique characteristics.
Effects of pulling film:
A. Decreased contrast: Pulled film typically has lower contrast, with more subdued shadows and midtones. This can result in images with a softer, more dreamy appearance. The decreased contrast can be particularly effective in creating a subtle and delicate mood in your images, or in situations where retaining detail across the entire tonal range is essential. However, be aware that pulling film can lead to a less dramatic look, which might not be suitable for all subjects or creative intentions.
B. Decreased graininess: The process of pulling film reduces the grain structure, resulting in a smoother, less textured image. This can contribute to a cleaner, more polished look in the photograph. For some photographers, this smooth quality is a desirable aesthetic, especially when fine detail and a refined appearance are of importance. Experimenting with different levels of pulling can help you find the perfect balance between graininess and image quality for your specific creative vision.
C. Subdued shadows and midtones: Pulling film can help to tone down the intensity of shadow areas and midtones, creating a more balanced and even exposure across the image. This is particularly helpful in high-contrast situations where capturing detail in these areas may be challenging. By pulling the film, you can ensure that important elements in the shadows and midtones are well-preserved, while still retaining the overall atmosphere of the scene.
D. Improved detail in highlights: One advantage of pulling film is the potential for better detail retention in the brightest parts of the image, as the highlights are less likely to become overexposed and washed out. This can be especially valuable in situations with strong backlighting or harsh sunlight, where preserving detail in the highlights is essential for a balanced and visually pleasing image.
Techniques for pulling film:
Choose the right film: To achieve the best results when pulling film, it is important to choose a film that is known for its flexibility and latitude. Some films, such as Kodak Portra and Fujifilm Pro 400H (RIP), are particularly well-suited for pulling, as they can handle the decreased development times and maintain a pleasing tonal range.
Metering and exposure: When pulling film, set your camera to the desired lower ISO rating, and meter accordingly. This will result in overexposed images on the film, which will be compensated for during the development process. Ensure that you are using a reliable light meter, either in-camera or external, to achieve accurate exposures.
Development: To compensate for the overexposure, decrease the development time during the film processing stage. This will vary depending on the specific film and developer used, as well as the degree to which the film is being pulled. Consult development charts or your lab for guidance on the appropriate development times for your chosen film and developer combination.
Experimenting with Pushing and Pulling Film

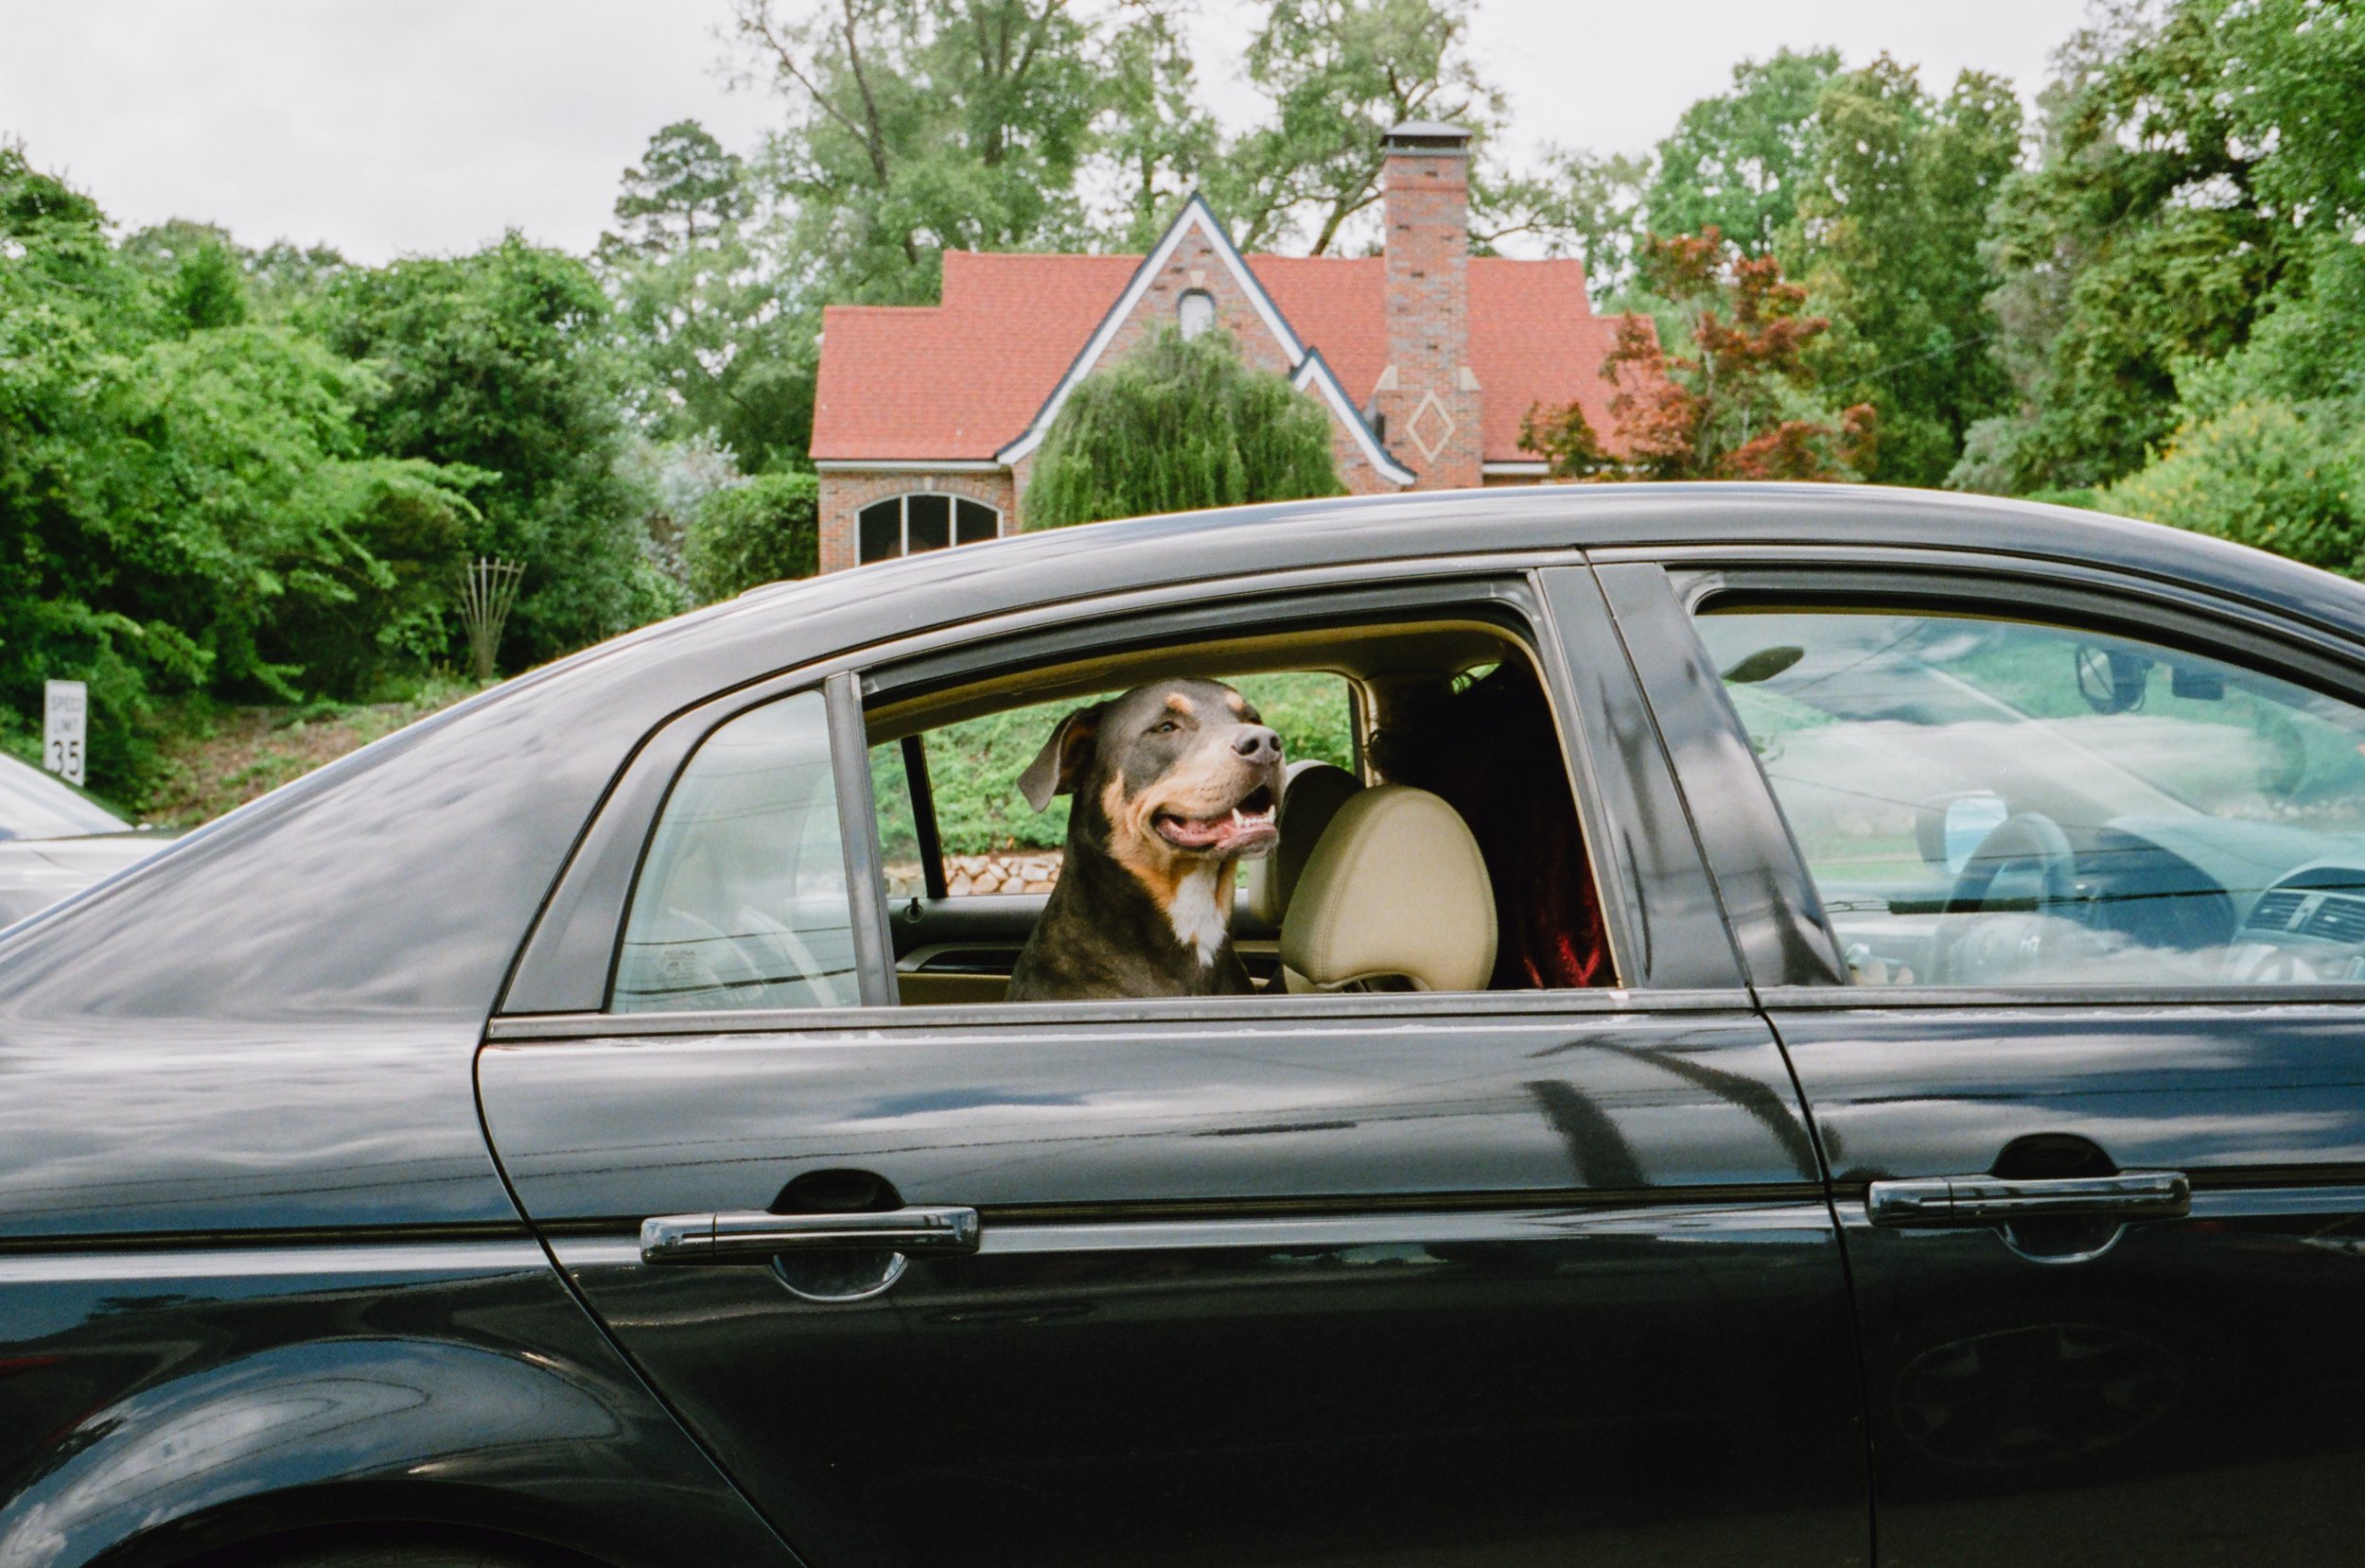
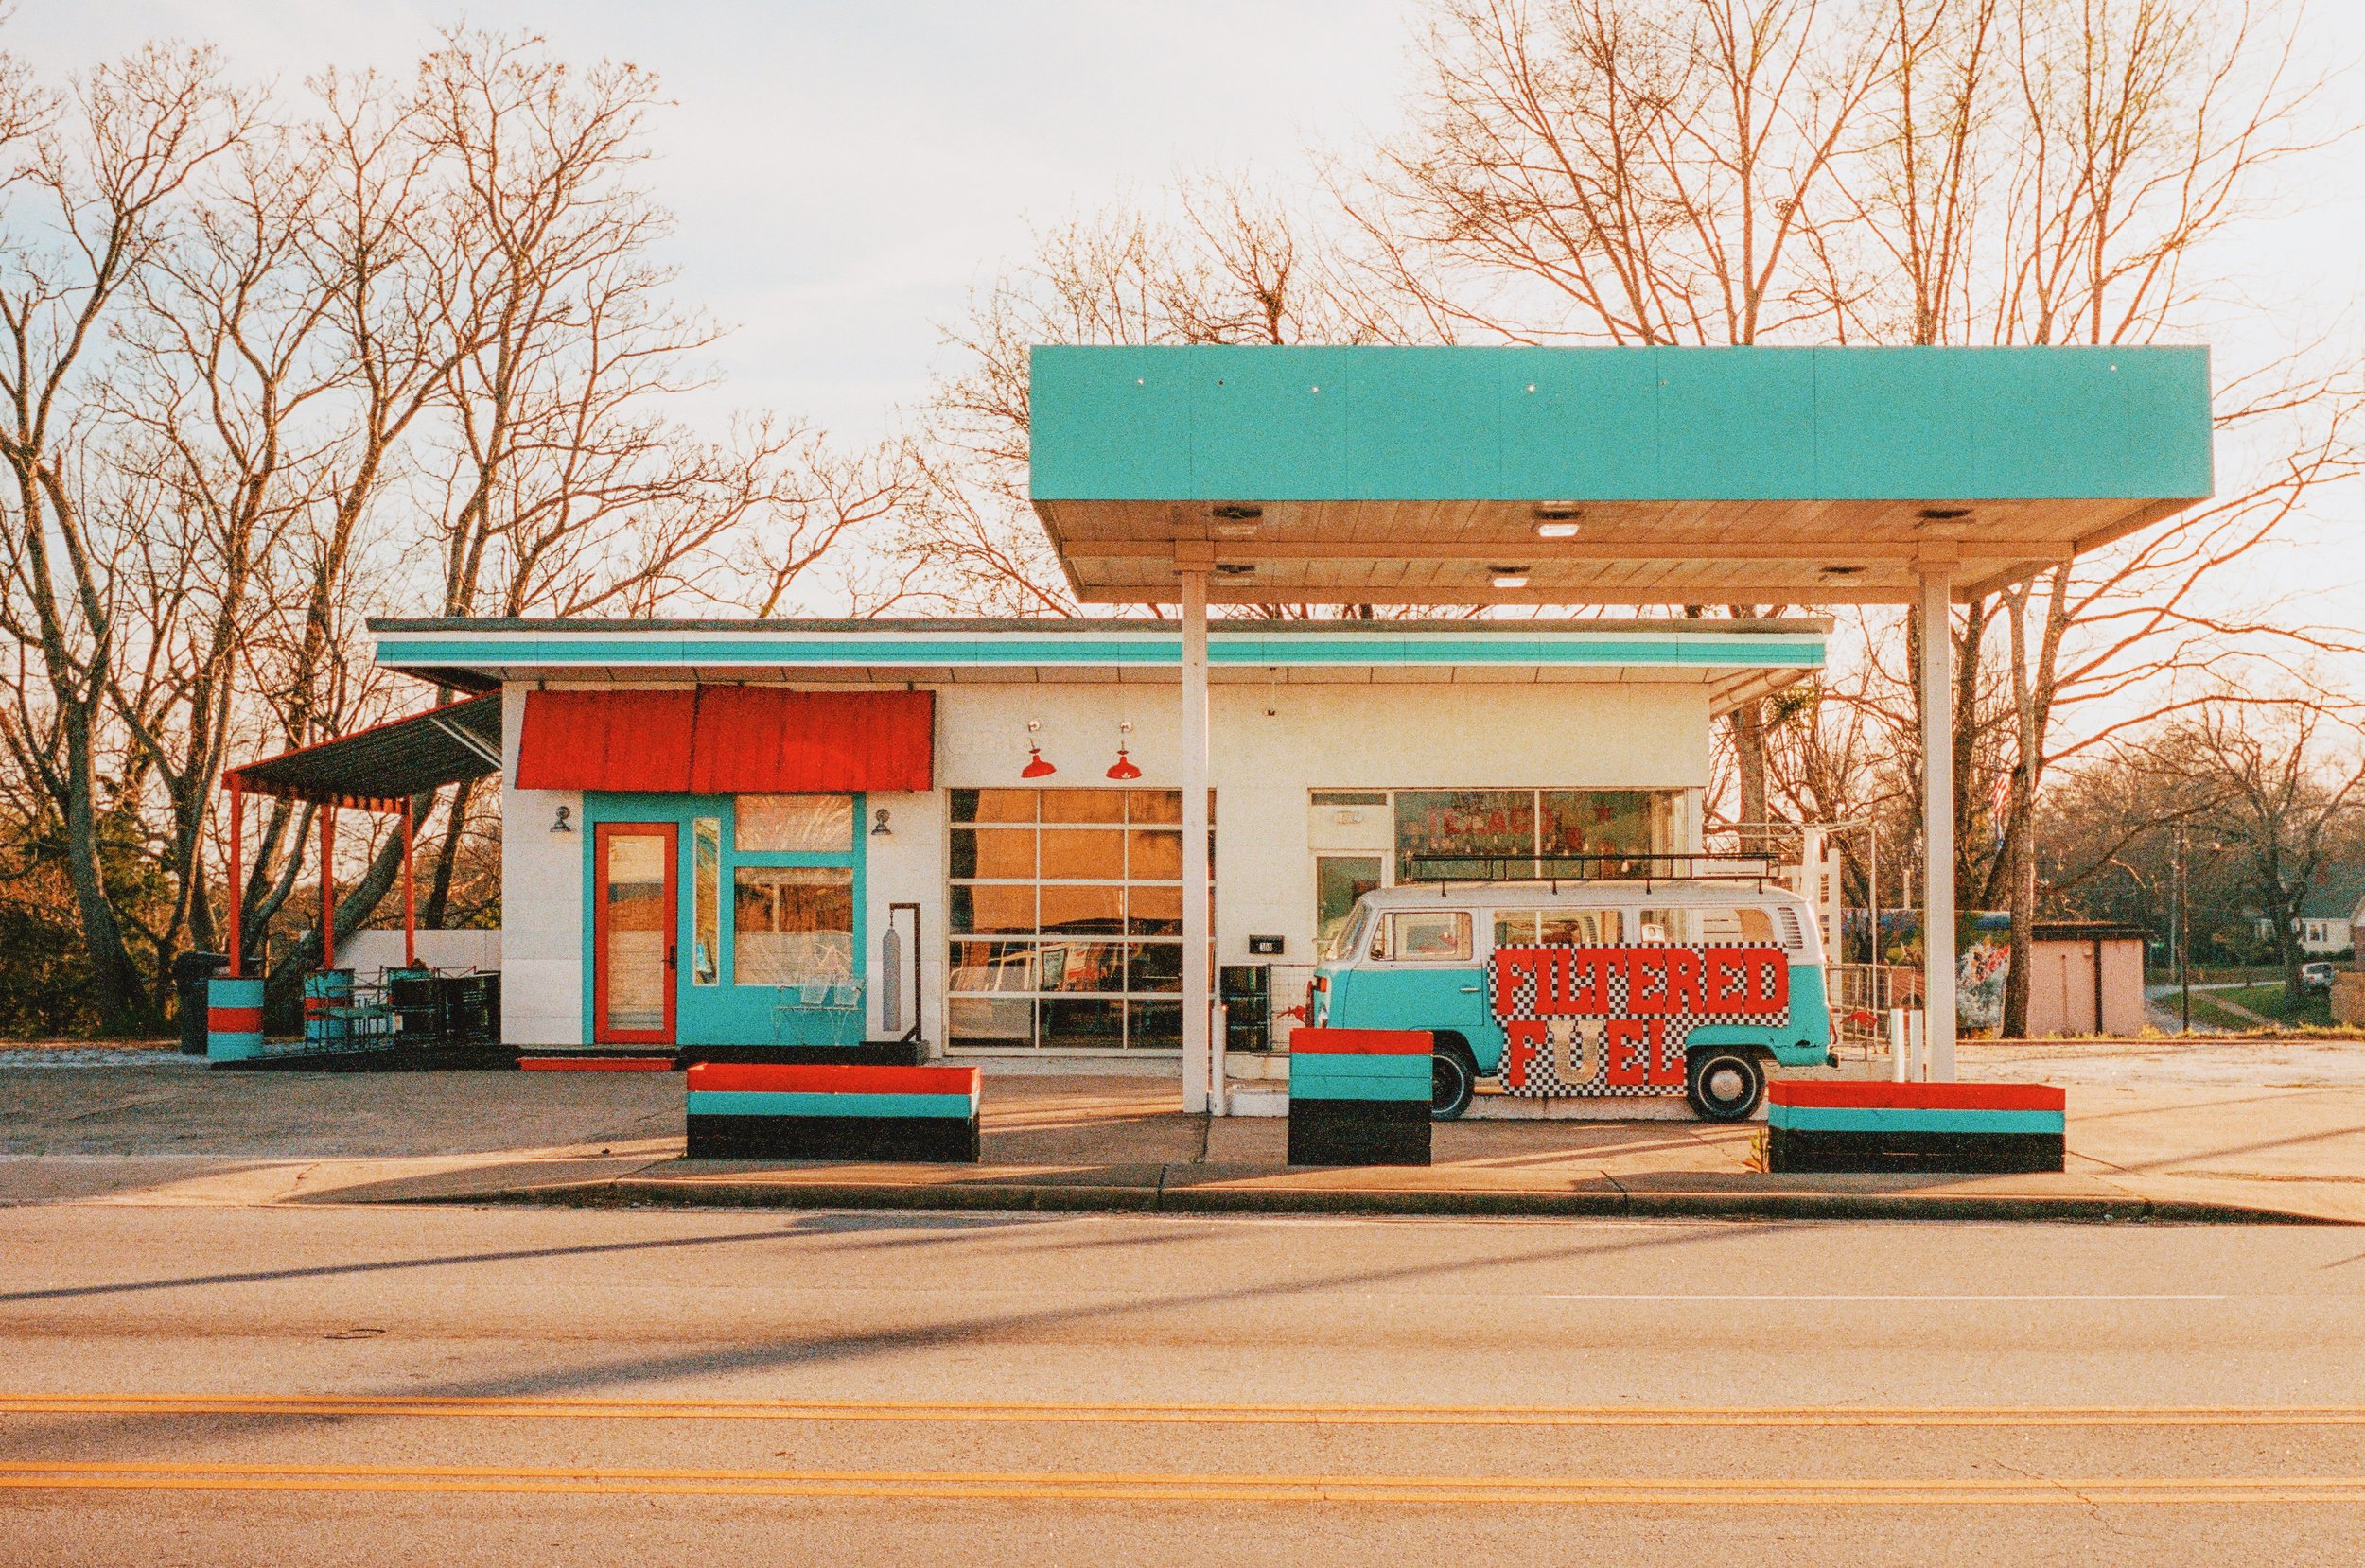
HP5 +1
Experimentation is key to mastering the art of pushing and pulling film, as it allows you to explore the creative potential of these techniques and find the optimal balance between the desired aesthetic effects and image quality. By trying different film stocks, exposure settings, and development times, you can create a wide variety of images with unique characteristics. Here are some tips to guide you on your journey to experimenting with pushing and pulling film:
Choose the right film stock: Different film stocks respond differently to pushing and pulling, so it's important to experiment with various types to discover which ones produce the results you desire. Some films, such as Kodak Tri-X or Ilford HP5+, are known for their flexibility and latitude, making them excellent choices for pushing. On the other hand, films like Kodak Portra or Fujifilm Pro 400H are well-suited for pulling. Keep in mind that each film stock has its unique characteristics and will react differently to the pushing and pulling process.
Document your process: To learn from your experimentation, it's crucial to document your process. Keep detailed notes of the film stock, camera settings (including ISO, shutter speed, and aperture), and development times for each roll you shoot. This will help you analyze the results, identify patterns, and refine your technique over time.
Experiment with different push and pull levels: Start by pushing or pulling your film by one stop, and then gradually increase or decrease the amount to see how it affects the final images. This will help you understand the limits of your chosen film stock and find the sweet spot for your desired aesthetic.
Use bracketing to explore exposure variations: When experimenting with pushing or pulling film, consider using exposure bracketing to capture a series of images at different exposure settings. This will allow you to compare the results side by side and determine which exposure and development combination works best for your specific creative vision.
Test various development times and developers: The development process plays a significant role in the final appearance of pushed or pulled film. Experiment with different development times and developers to see how they impact the contrast, grain, and tonal range of your images. Some developers are better suited for pushing or pulling film, so it's worth trying various options to find the best match for your chosen film stock and desired outcome.
Share your results and learn from others: The film photography community is full of enthusiasts who are passionate about pushing the boundaries of the medium. Share your results, ask for feedback, and learn from others who have experience with pushing and pulling film. This will help you expand your knowledge, hone your technique, and inspire you to continue experimenting.
By embracing experimentation and learning from your successes and failures, you'll develop a deeper understanding of pushing and pulling film and how these techniques can be used to create unique, captivating images. Remember that it's a process of discovery, so be patient and enjoy the journey as you explore the creative possibilities of manipulating film ISOs.

Conclusion
In conclusion, pushing and pulling film opens up a world of creative possibilities for photographers, allowing them to manipulate film ISOs and achieve unique visual effects. Whether you're seeking to capture the perfect image in challenging lighting conditions or exploring the boundaries of your artistic vision, pushing and pulling film can be a valuable tool in your photographic arsenal.
By experimenting with different film stocks, exposure settings, development times, and techniques, you can develop a deeper understanding of how pushing and pulling film impacts the final images. Remember to document your process, learn from your successes and failures, and share your results with the broader film photography community. This collaborative approach not only helps you grow as a photographer but also contributes to the collective knowledge and passion that drives the film photography community forward.
As you continue to explore the art of pushing and pulling film, you will undoubtedly discover your unique style and preferences. By refining your technique and expanding your understanding of the medium, you can create captivating images that stand out and tell compelling stories. So, don't be afraid to take risks, experiment with new ideas, and push the limits of film photography. In doing so, you'll find that the creative potential of pushing and pulling film is limited only by your imagination.
Everything you need to get started with 35mm film:
Cameras - eBay
Film - Amazon
Cinestill CS41 Developing Kit - Amazon
Epson V600 Flatbed Scanner - Amazon