

Mastering the Exposure Triangle: A Beginner's Guide to Perfecting Your Photos

*Disclosure: This post may contain affiliate links that at no additional cost to you, I may earn a small commission.
Embarking on your photography journey can be both exciting and overwhelming. With so many techniques to learn and settings to navigate, it's essential to build a strong foundation of understanding, starting with the exposure triangle. As the cornerstone of photography, the exposure triangle is the key to unlocking your camera's full potential and capturing well-exposed, visually striking images.
The exposure triangle comprises three fundamental elements: aperture, shutter speed, and ISO. These components work in harmony to control the amount of light that enters your camera, impacting the brightness, depth, and overall appearance of your photos. By mastering the exposure triangle, you'll gain the confidence and skill necessary to adapt to various lighting conditions, creatively manipulate your images, and elevate your photography to new heights.
Introduction: Understanding Stops in Photography
Before diving into the intricacies of the exposure triangle, it's crucial to grasp the concept of 'stops' in photography. In the simplest terms, a 'stop' is a unit of measurement used to quantify the change in exposure, either by doubling or halving the amount of light reaching the camera sensor or film. Stops are the foundation of exposure control and play a significant role in aperture, shutter speed, and ISO settings.
A one-stop increase results in doubling the amount of light reaching the camera sensor or film, thereby brightening the image. Conversely, a one-stop decrease halves the amount of light, leading to a darker image. Understanding stops is essential for learning how to achieve the desired exposure and manage the relationship between aperture, shutter speed, and ISO.
In this blog post, we'll explore the exposure triangle in-depth, and by keeping the concept of stops in mind, you'll be better equipped to make informed decisions and capture beautifully exposed photographs.
Aperture: The Key to Depth of Field and Light Control

Aperture is a crucial component of the exposure triangle, playing a significant role in both the amount of light that enters your camera and the depth of field in your images. Understanding how to manipulate aperture will empower you to create images with varying levels of focus and background blur, adding depth and dimension to your photographs.
Understanding Aperture Size and F-stops
Aperture refers to the size of the opening in the lens through which light passes. This opening is adjustable, allowing you to control the amount of light that enters the camera. Aperture size is measured in f-stops (e.g., f/1.8, f/4, f/8), with each f-stop representing a different size of the opening.
A lower f-stop number indicates a larger aperture, allowing more light to enter the camera. Conversely, a higher f-stop number indicates a smaller aperture, limiting the amount of light that enters. It's important to note that the f-stop scale is counterintuitive; lower numbers mean a larger opening, while higher numbers signify a smaller opening.
In practical terms, this means that when you change the aperture from, say, f/4 to f/5.6, you are reducing the light entering the camera by half. Similarly, changing the aperture from f/5.6 to f/8 reduces the light entering the camera by half again. Understanding this relationship is crucial when adjusting aperture settings to achieve the desired exposure in your photographs.
Depth of Field and Bokeh
In addition to controlling the amount of light that enters the camera, aperture also affects the depth of field (DoF), which is the range of distance in a photo that appears sharp and in focus. Aperture size directly influences the depth of field, creating different levels of focus and background blur depending on the chosen f-stop.
A larger aperture (lower f-stop) creates a shallow depth of field, with a blurred background and foreground, often referred to as "bokeh." This effect is ideal for portraits, as it draws attention to the subject by separating them from the background.
On the other hand, a smaller aperture (higher f-stop) results in a deeper depth of field, keeping more of the scene in focus. This is useful for landscape photography, where you may want to capture sharp details in both the foreground and background.

Kelsey Smith Photography©
Choosing the Right Aperture for Your Scene
Selecting the ideal aperture depends on your creative vision and the type of photography you're pursuing. Here are some general guidelines to help you choose the right aperture for your scene:
For portraits and close-up shots, use a larger aperture (lower f-stop) to create a shallow depth of field, isolating the subject and producing a pleasing background blur.
For landscape and architectural photography, opt for a smaller aperture (higher f-stop) to maintain sharpness and clarity throughout the entire scene.
For low-light situations, consider using a larger aperture (lower f-stop) to allow more light into the camera, but be mindful of the depth of field and ensure your subject remains in focus.
Shutter Speed: Capturing Motion and Controlling Light

Kelsey Smith Photography©
Shutter speed is another vital component of the exposure triangle, determining the duration that light is allowed to enter the camera and influencing the portrayal of motion in your images. By mastering shutter speed, you'll gain the ability to freeze fast-moving subjects or create intentional motion blur for artistic effect, further expanding your creative toolbox.
Understanding Shutter Speed Measurements
Shutter speed is the length of time the camera's shutter remains open, allowing light to reach the sensor. Shutter speed is measured in fractions of a second (e.g., 1/30, 1/125, 1/500) or full seconds for long exposures (e.g., 1", 10", 30"). A slower shutter speed lets in more light, while a faster shutter speed allows less light to enter.
It's important to remember that each change in shutter speed, whether faster or slower, doubles or halves the amount of light entering the camera. For example, moving from 1/60 to 1/125 doubles the shutter speed, allowing half as much light to enter, while moving from 1/250 to 1/125 halves the shutter speed, letting in twice as much light.
Motion Blur and Camera Shake
Shutter speed plays a significant role in capturing motion within your images. Slower shutter speeds can result in blurred motion, as the subject moves while the shutter is open. This effect can be used intentionally for creative purposes, such as conveying a sense of movement or speed.
On the other hand, camera shake can occur when shooting handheld with slow shutter speeds, causing the entire image to appear blurry due to slight camera movements. To avoid camera shake, follow the general rule of thumb: use a shutter speed faster than the reciprocal of the focal length of your lens. For example, if you're using a 50mm lens, choose a shutter speed of at least 1/50.
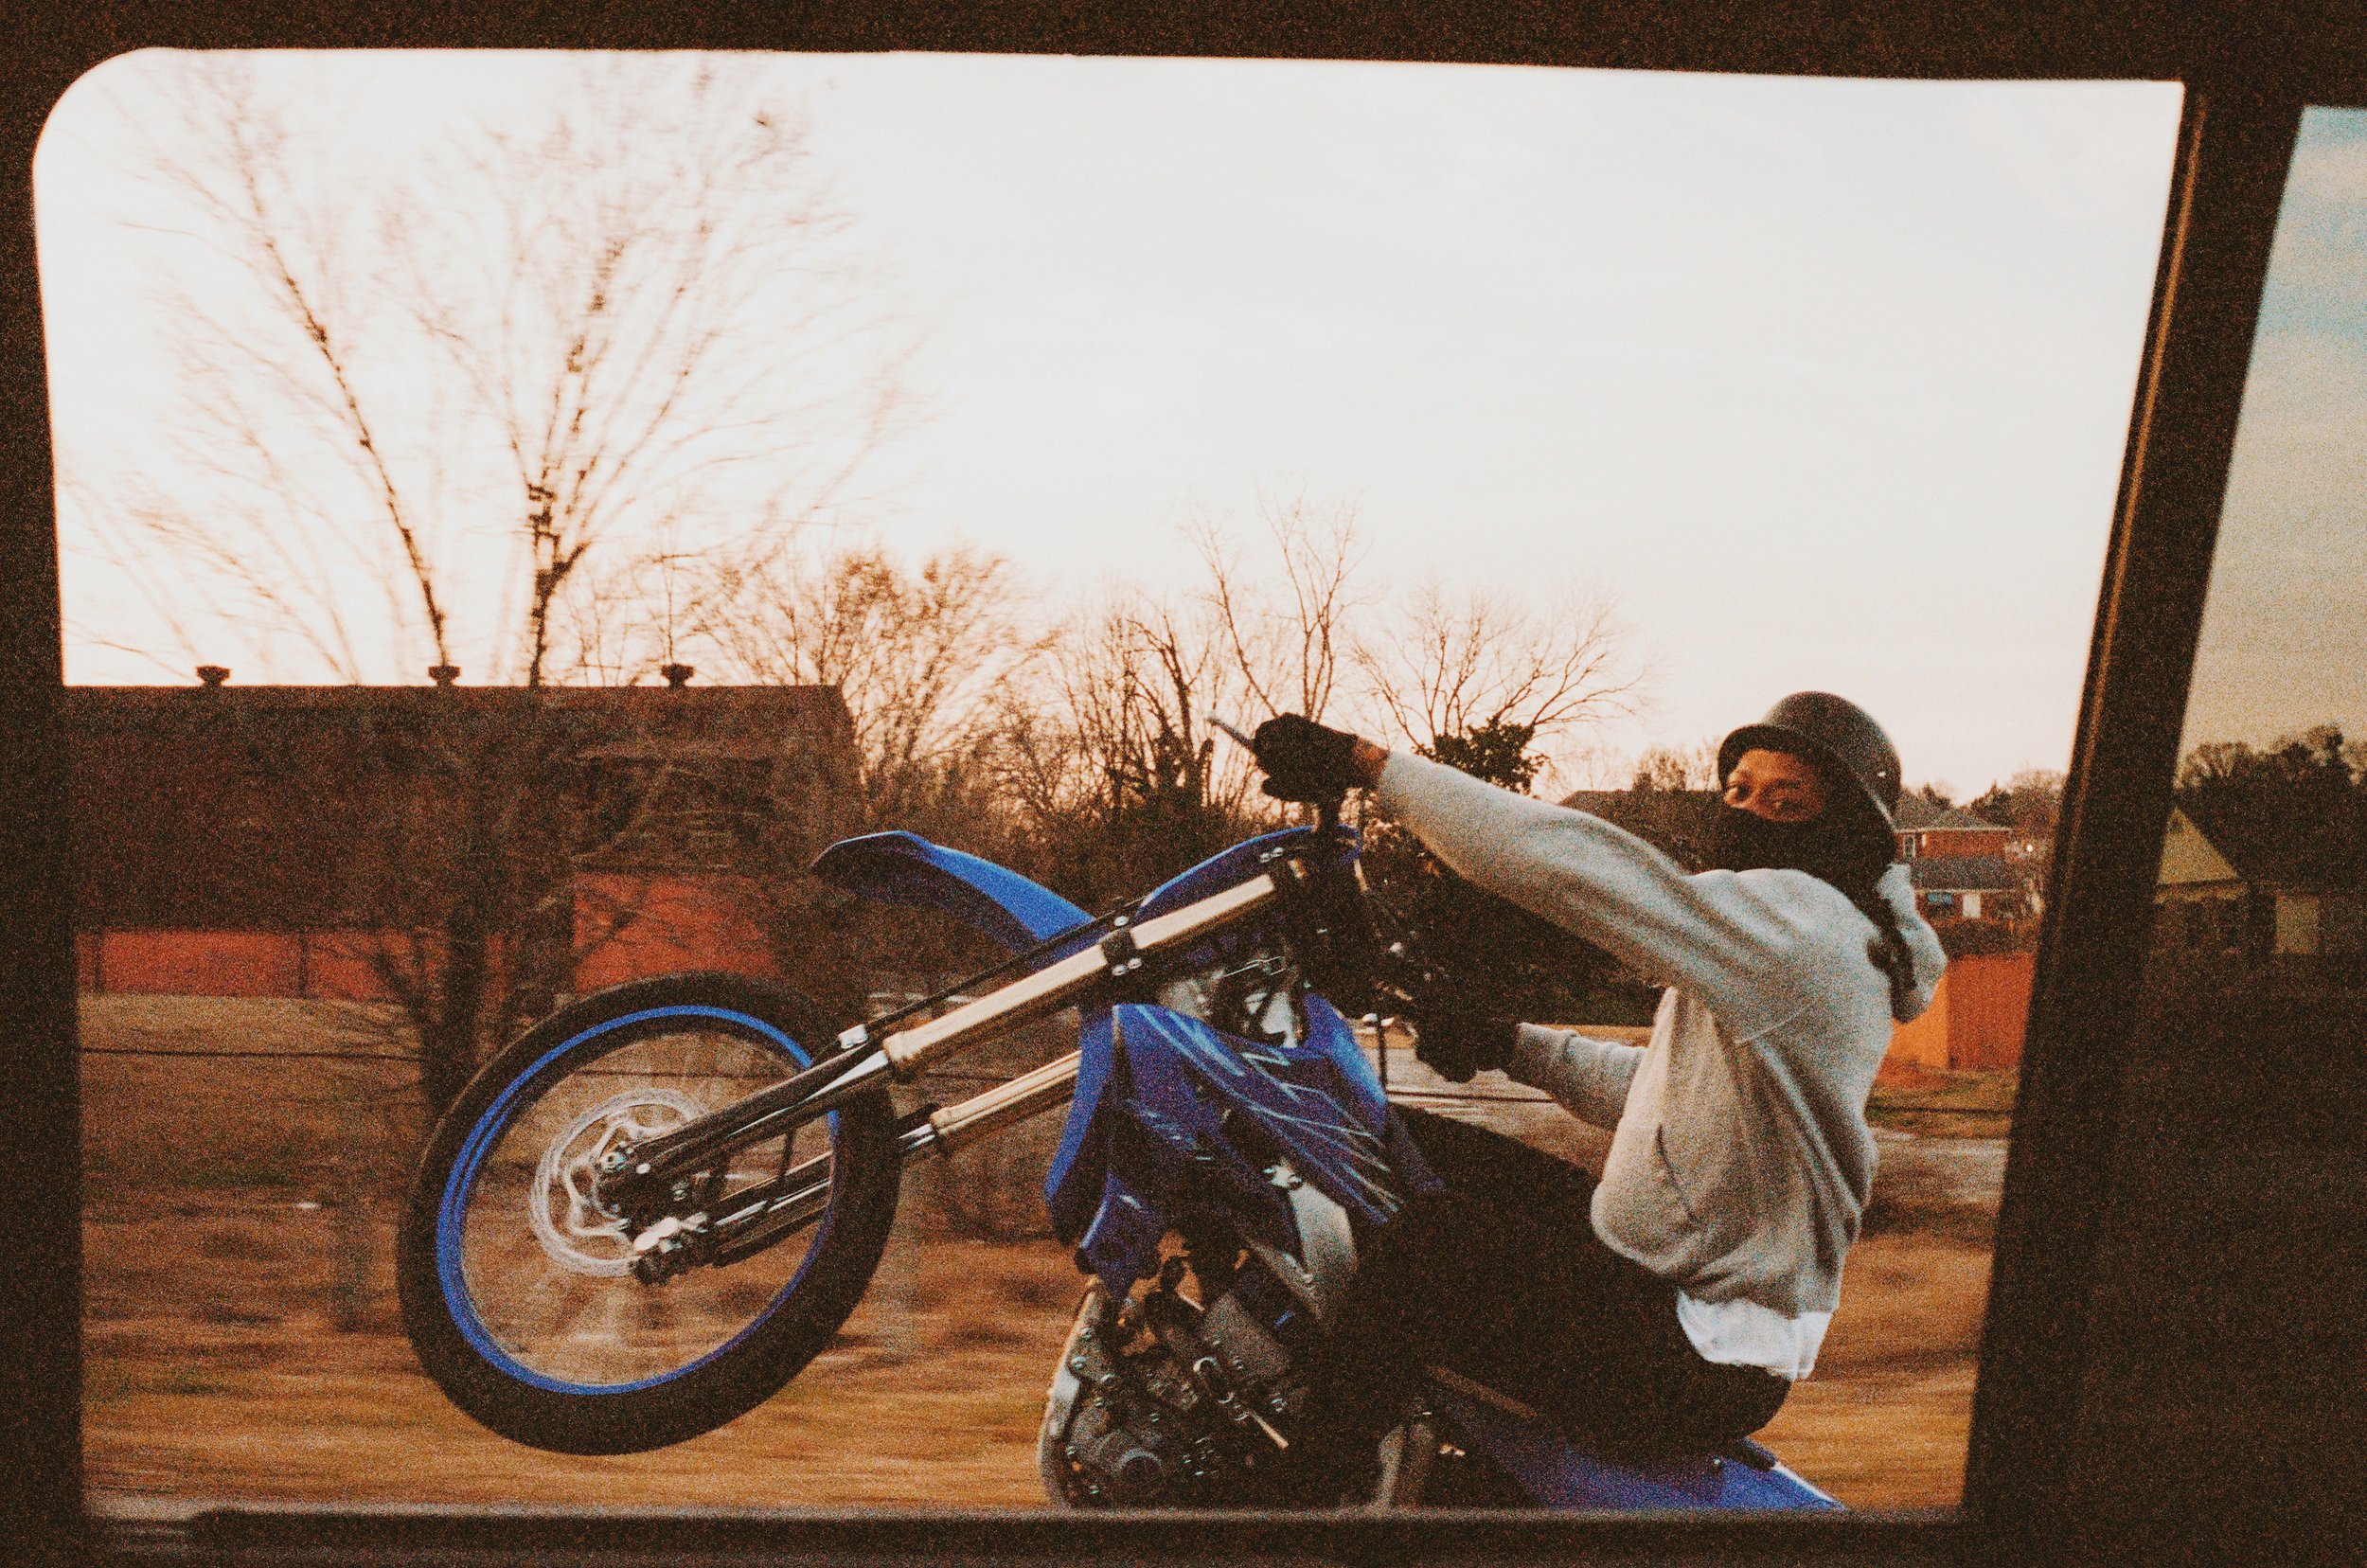
Faster shutter speeds freeze motion, capturing sharp images of moving subjects. This is essential for action, sports, or wildlife photography, where capturing precise moments is key.

Kelsey Smith Photography©
Choosing the Right Shutter Speed for Your Scene
Selecting the ideal shutter speed depends on your creative goals and the type of photography you're pursuing. Here are some general guidelines to help you choose the right shutter speed for your scene:
For action and sports photography, use fast shutter speeds (e.g., 1/500, 1/1000) to freeze motion and capture sharp images of moving subjects.
For landscape and still-life photography, use slower shutter speeds (e.g., 1/30, 1/60) if necessary, but ensure your camera is stabilized on a tripod or other support to avoid camera shake.
For creative motion blur, experiment with slower shutter speeds (e.g., 1/4, 1/15) while panning the camera to track moving subjects, or use a tripod for long exposures to capture the movement of water, clouds, or other elements.
ISO: Balancing Light Sensitivity and Image Quality
ISO is the third fundamental component of the exposure triangle, affecting the sensitivity of your camera's sensor (in digital photography) or film to light. Adjusting ISO allows you to achieve proper exposure in a variety of lighting conditions, while also influencing the overall quality of your images. Understanding the role of ISO in both digital and film photography is crucial for capturing well-exposed photographs without compromising image quality.
Understanding ISO Values and Sensitivity
In digital photography, ISO represents the sensitivity of the camera's sensor to light. A lower ISO value (e.g., 100, 200) indicates lower sensitivity, requiring more light to achieve a proper exposure. A higher ISO value (e.g., 800, 1600) increases the sensor's sensitivity, allowing for better exposure in low-light situations.
In film photography, ISO (or ASA) refers to the sensitivity of the film stock itself. Similar to digital photography, lower ISO values (e.g., 100, 200) indicate less sensitive film, while higher ISO values (e.g., 400, 800) indicate more sensitive film.
Like aperture and shutter speed, each full stop doubles or halves the light sensitivity of the camera's sensor or film. For example, increasing the ISO from 100 to 200 doubles the sensitivity to light, while decreasing it from 200 to 100 halves the sensitivity.
Noise, Grain, and Image Quality
Increasing ISO in digital photography introduces digital noise or grain to your images, which can reduce overall image quality. Noise appears as random speckles or artifacts, affecting the image's sharpness, color, and detail. Ideally, you should aim for the lowest possible ISO that allows for a well-exposed image to minimize noise.
In film photography, higher ISO values correspond to films with larger, more visible grain. This grain can lend a distinct texture and character to your images but may also reduce sharpness and detail. As with digital photography, it's generally best to use the lowest ISO film that allows for proper exposure to maintain image quality. However, some photographers deliberately choose higher ISO films for their unique aesthetic.

Kelsey Smith Photography©
Choosing the Right ISO for Your Scene
Selecting the ideal ISO depends on the lighting conditions of your scene and your creative goals. Here are some general guidelines to help you choose the right ISO for your photography:
In bright, outdoor conditions, opt for a lower ISO (e.g., 100, 200) to minimize noise or grain and maintain the best possible image quality.
In low-light situations, such as indoor or night-time photography, consider increasing the ISO (e.g., 800, 1600) to achieve proper exposure, but be mindful of the resulting noise or grain.
For artistic purposes, experiment with higher ISO values to create images with more pronounced digital noise or film grain, adding texture and character to your photographs.
Achieving the Perfect Exposure in Your Photography

Kelsey Smith Photography©
One of the most crucial aspects of photography is understanding how to balance the exposure triangle to achieve the perfect exposure. The exposure triangle consists of aperture, shutter speed, and ISO, and each element plays a vital role in determining the brightness and overall appearance of your images. Balancing these components enables you to capture well-exposed photographs, even in challenging lighting conditions.
In this section, we'll delve a deeper into how to balance the exposure triangle, providing tips on managing the relationship between these three components and achieving the desired exposure for your images.
Understanding the Relationship Between the Components
Each element of the exposure triangle has a unique impact on your image's exposure. Just to reiterate:
Aperture controls the size of the opening in the lens, affecting the amount of light that enters the camera and the depth of field.
Shutter speed determines the duration that the shutter remains open, controlling the amount of light that reaches the sensor and the portrayal of motion.
ISO impacts the sensitivity of your camera's sensor (in digital photography) or film to light, influencing the overall image quality.
To balance the exposure triangle, you'll need to adjust these elements in a way that allows you to achieve the desired exposure while preserving image quality and achieving your creative vision.
Compensating for Changes in One Element
When adjusting one element of the exposure triangle, it's essential to consider the potential impact on the other components. For example, if you increase the shutter speed to freeze motion, you'll need to compensate by either opening the aperture wider (lowering the f-stop) or increasing the ISO to maintain proper exposure. Conversely, if you decrease the ISO to minimize noise, you may need to slow the shutter speed or open the aperture to ensure adequate light reaches the sensor.
Let's consider a hypothetical example where you're initially using the following settings for your camera:
Aperture: f/5.6
Shutter Speed: 1/100s
ISO: 100
Now, you want to capture a fast-moving subject, such as a runner, which requires a faster shutter speed to freeze motion. To change the settings while retaining the exposure value, you could make the following adjustments:
Keep the aperture constant: f/5.6
Increase the shutter speed by two stops (1/4th the amount of light) to freeze motion: 1/100 seconds to 1/400 seconds
Increase the ISO by two stops (4 times the sensitivity) to compensate for the faster shutter speed: 100 to 400
By making these adjustments, you are effectively compensating for the changes in exposure:
Keeping the aperture constant at f/5.6 ensures that the depth of field remains unchanged.
Changing the shutter speed from 1/100 seconds to 1/400 seconds reduces the amount of light entering the camera (two stops less light), but effectively freezes the motion of the fast-moving subject.
Changing the ISO from 100 to 400 increases the sensitivity of the camera sensor or film to light (two stops more sensitive), compensating for the reduced light from the faster shutter speed.
In this example, you have successfully adjusted the shutter speed and ISO to capture a fast-moving subject while maintaining the same exposure value. Understanding how to balance these settings allows you to adapt to different situations and capture well-exposed images that meet your creative goals.
Now, let’s say in another hypothetical situation you’d prefer to leave the ISO at 100 and want to change the aperture instead, you can still adjust your settings to capture a fast-moving subject while retaining the exposure value. Let's use the previous example as a starting point:
Aperture: f/5.6
Shutter Speed: 1/100 seconds
ISO: 100
To change the settings while retaining the exposure value, you could make the following adjustments:
Decrease the aperture by two stops (4 times the amount of light) to compensate for the faster shutter speed: f/5.6 to f/2.8
Increase the shutter speed by two stops (1/4th the amount of light) to freeze motion: 1/100 seconds to 1/400 seconds
Keep the ISO constant at 100
By making these adjustments, you are effectively compensating for the changes in exposure:
Changing the aperture from f/5.6 to f/2.8 increases the amount of light entering the camera (two stops more light), compensating for the reduced light from the faster shutter speed. However, keep in mind that decreasing the aperture will also result in a shallower depth of field, potentially blurring the background and foreground more.
Changing the shutter speed from 1/100 seconds to 1/400 seconds reduces the amount of light entering the camera (two stops less light), but effectively freezes the motion of the fast-moving subject.
Keeping the ISO constant at 100 ensures that image noise remains low, preserving image quality.
Practice and Experimentation
Balancing the exposure triangle takes practice and experimentation. As you become more familiar with the relationship between aperture, shutter speed, and ISO, you'll be better equipped to make adjustments and compensate for changes in one component. Try different combinations of settings, observe the results, and analyze the impact on your images.
Remember that achieving the perfect exposure is not always about adhering to strict rules or guidelines, but rather understanding the interplay between the components of the exposure triangle and making informed decisions based on your creative vision and the specific conditions of the scene.
Kelsey Smith Photography©
Conclusion
Mastering the exposure triangle is a vital step in your journey as a photographer. By developing a deep understanding of aperture, shutter speed, and ISO, you'll be well-equipped to capture beautifully exposed images, regardless of the lighting conditions or creative challenges you may encounter. Moreover, you'll gain the confidence and skills necessary to experiment with various settings and techniques, allowing you to expand your creative horizons and develop your unique photographic style.
As you continue to practice and refine your understanding of the exposure triangle, keep these key takeaways in mind:
Experimentation is crucial: Don't be afraid to try different combinations of aperture, shutter speed, and ISO. Each adjustment presents an opportunity to learn and grow as a photographer.
Balance is key: Remember that each element of the exposure triangle impacts the others. Adjusting one setting often requires compensating with another to maintain proper exposure.
Embrace the creative possibilities: The exposure triangle not only allows you to control the technical aspects of your images, but it also opens up a world of creative possibilities. Use your understanding of these settings to manipulate depth of field, freeze or blur motion, and add texture to your images.
Be adaptable: As you become more proficient with the exposure triangle, you'll be better prepared to adapt to various lighting conditions, from bright sunlight to dimly lit interiors. This adaptability will make you a more versatile and confident photographer.
With time, patience, and persistence, your mastery of the exposure triangle will help you unlock your full photographic potential, leading you to capture stunning, evocative images that tell compelling stories and capture the essence of your subjects. So grab your camera, venture out, and explore the creative possibilities that await you in the world of photography.
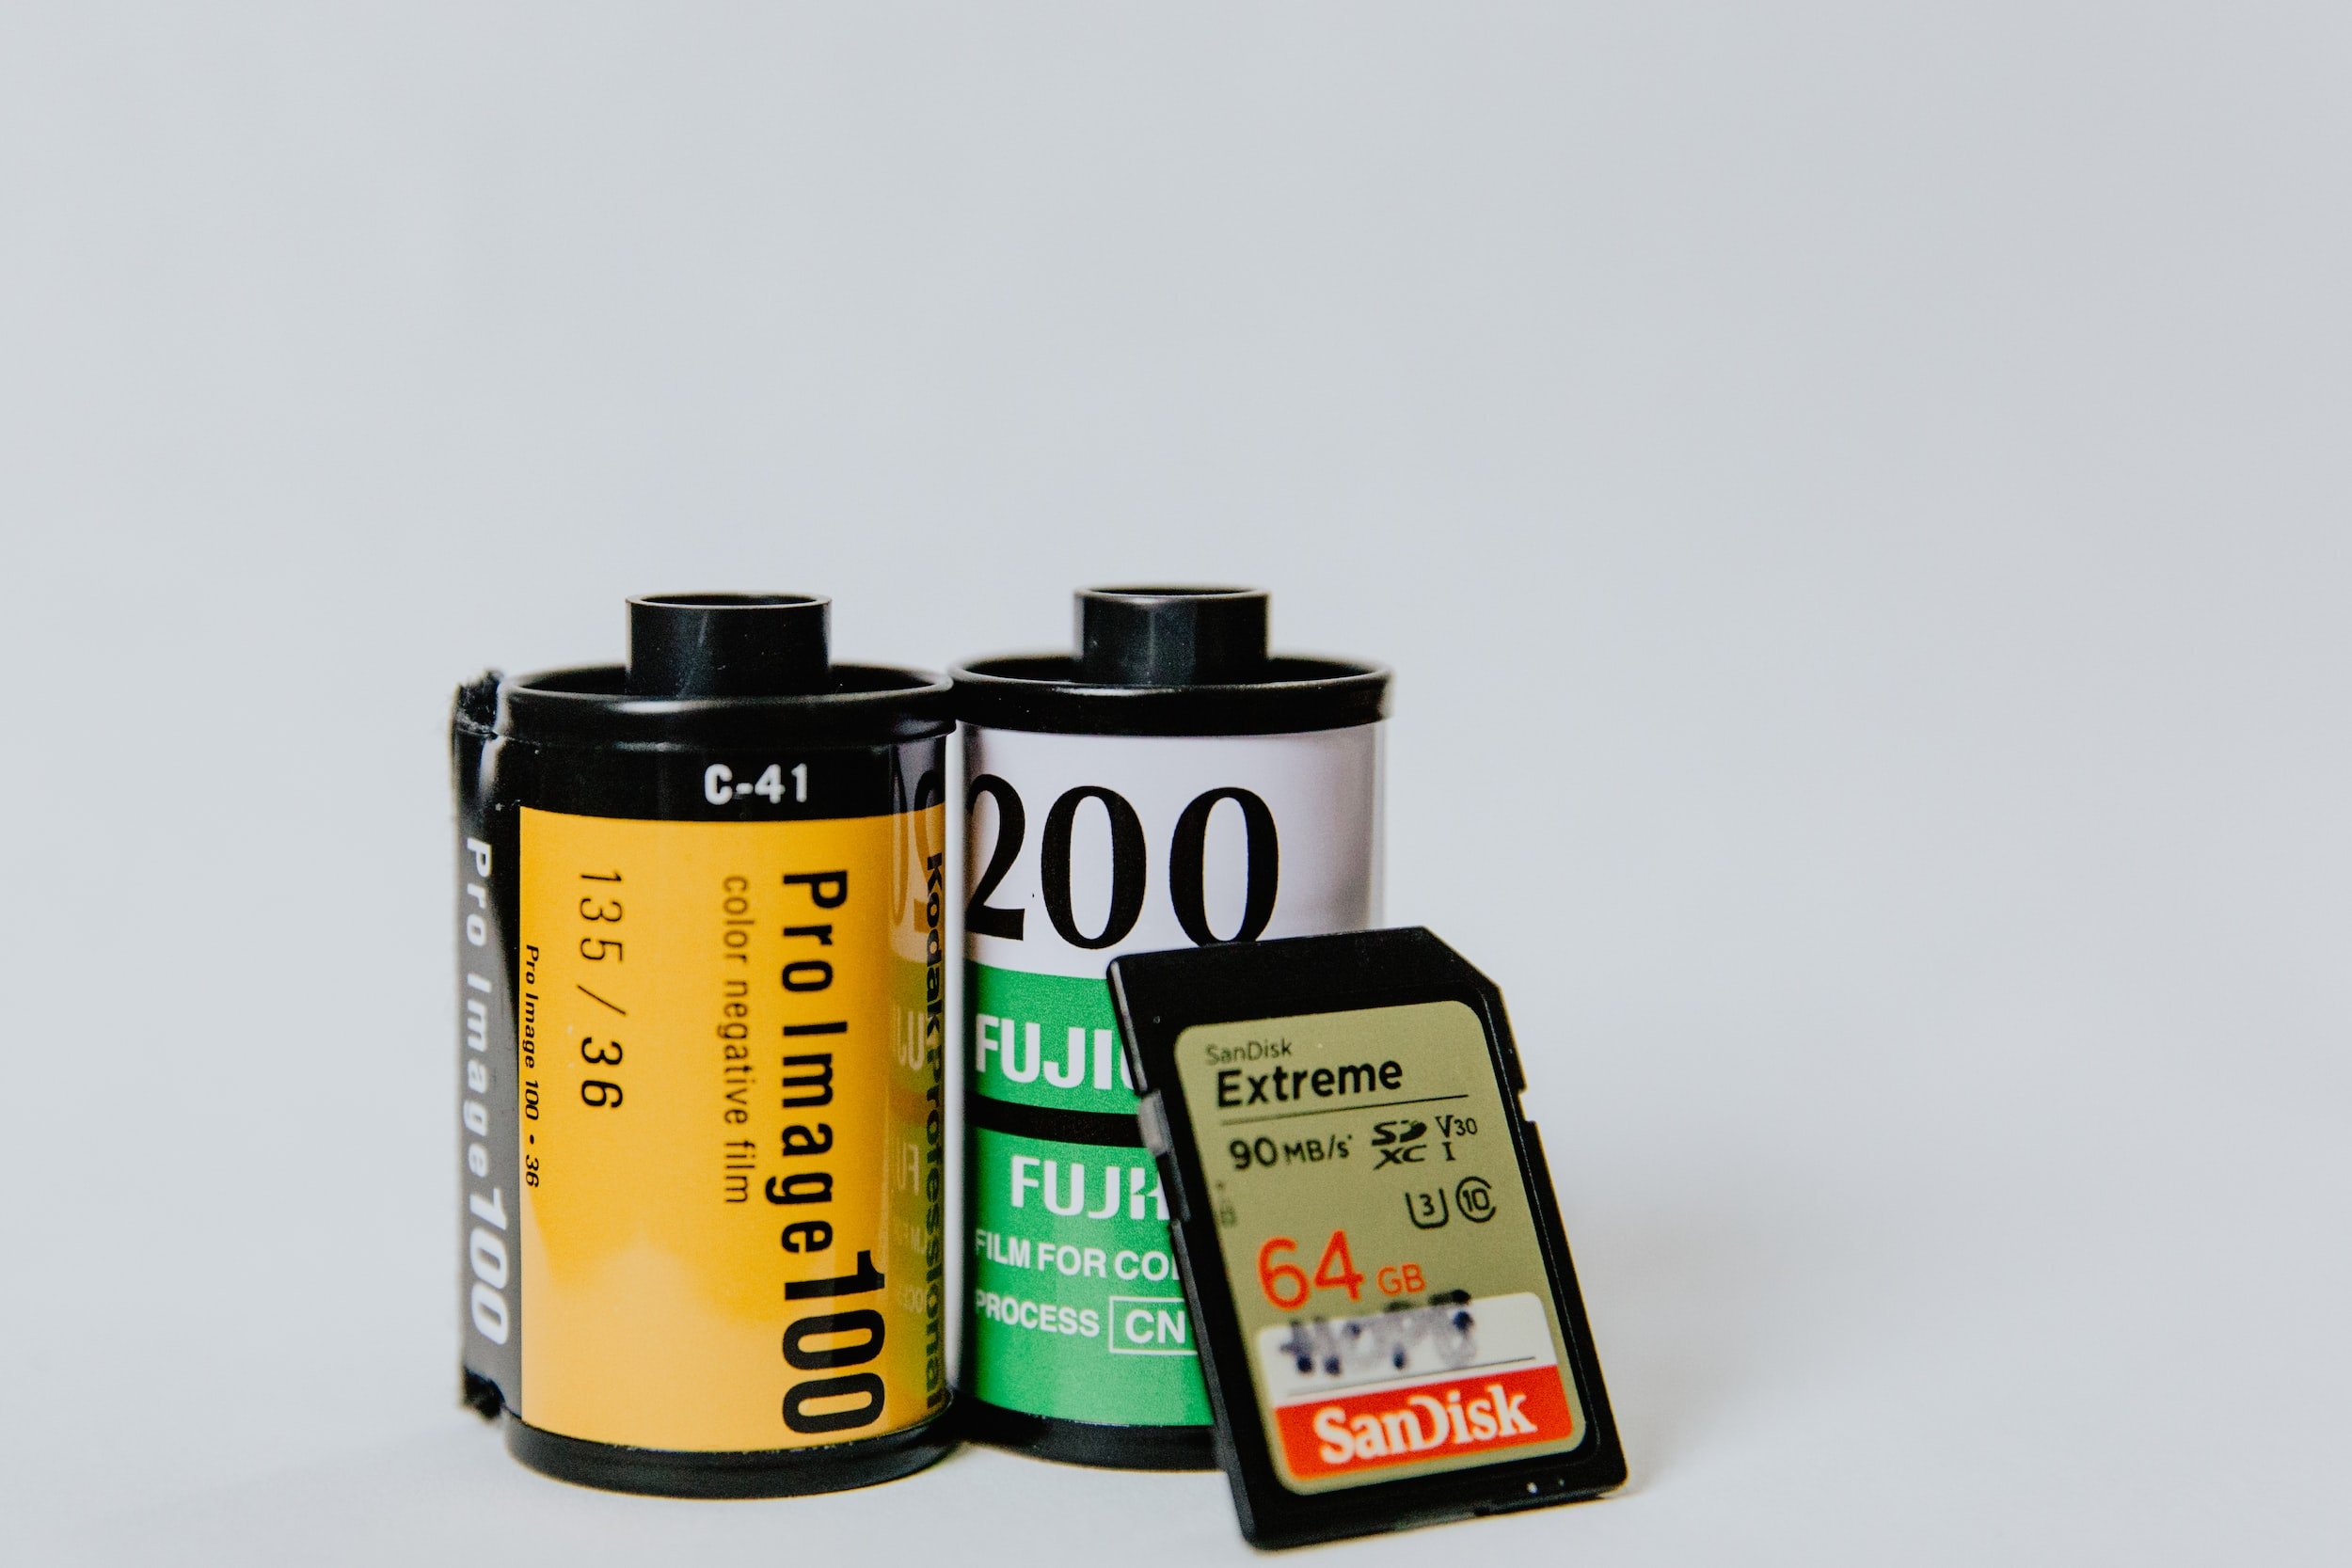
Everything you need to get started with 35mm film:
Cameras - eBay
Film - Amazon
Cinestill CS41 Developing Kit - Amazon
Epson V600 Flatbed Scanner - Amazon