

Film Photography on a Budget: Tips for Shooting Analog Without Breaking the Bank
Film photography has a reputation for being expensive, but affordable analog photography is absolutely possible with the right approach. Whether you’re a curious beginner or an intermediate shooter watching your wallet, you can enjoy the magic of budget film photography without draining your bank account. From hunting down cheap film cameras to cutting costs on film and processing, the tips below will help you shoot analog on the cheap while still having a blast.

*Some links on my blog are affiliate links. This means if you decide to make a purchase through these links, I may receive a small commission at no additional cost to you. It's a wonderful way to support the content I create, and I only recommend products I genuinely love and believe in. Your support means the world to me, and I'm grateful for every click, purchase, and kind word!
1. Start with a Cheap Film Camera (Second Hand Deals Rule)!
You don’t need a $4,000 Leica to enjoy film photography. In fact, far from it! Start by shopping second-hand for a reliable, no-frills 35mm camera. Thrift stores, yard sales, Facebook Marketplace, and eBay are your friends here. Many classic cameras from the 1970s-1990s can be found at budget friendly prices, and they’re often built like tanks. A few examples of cheap film cameras to consider:
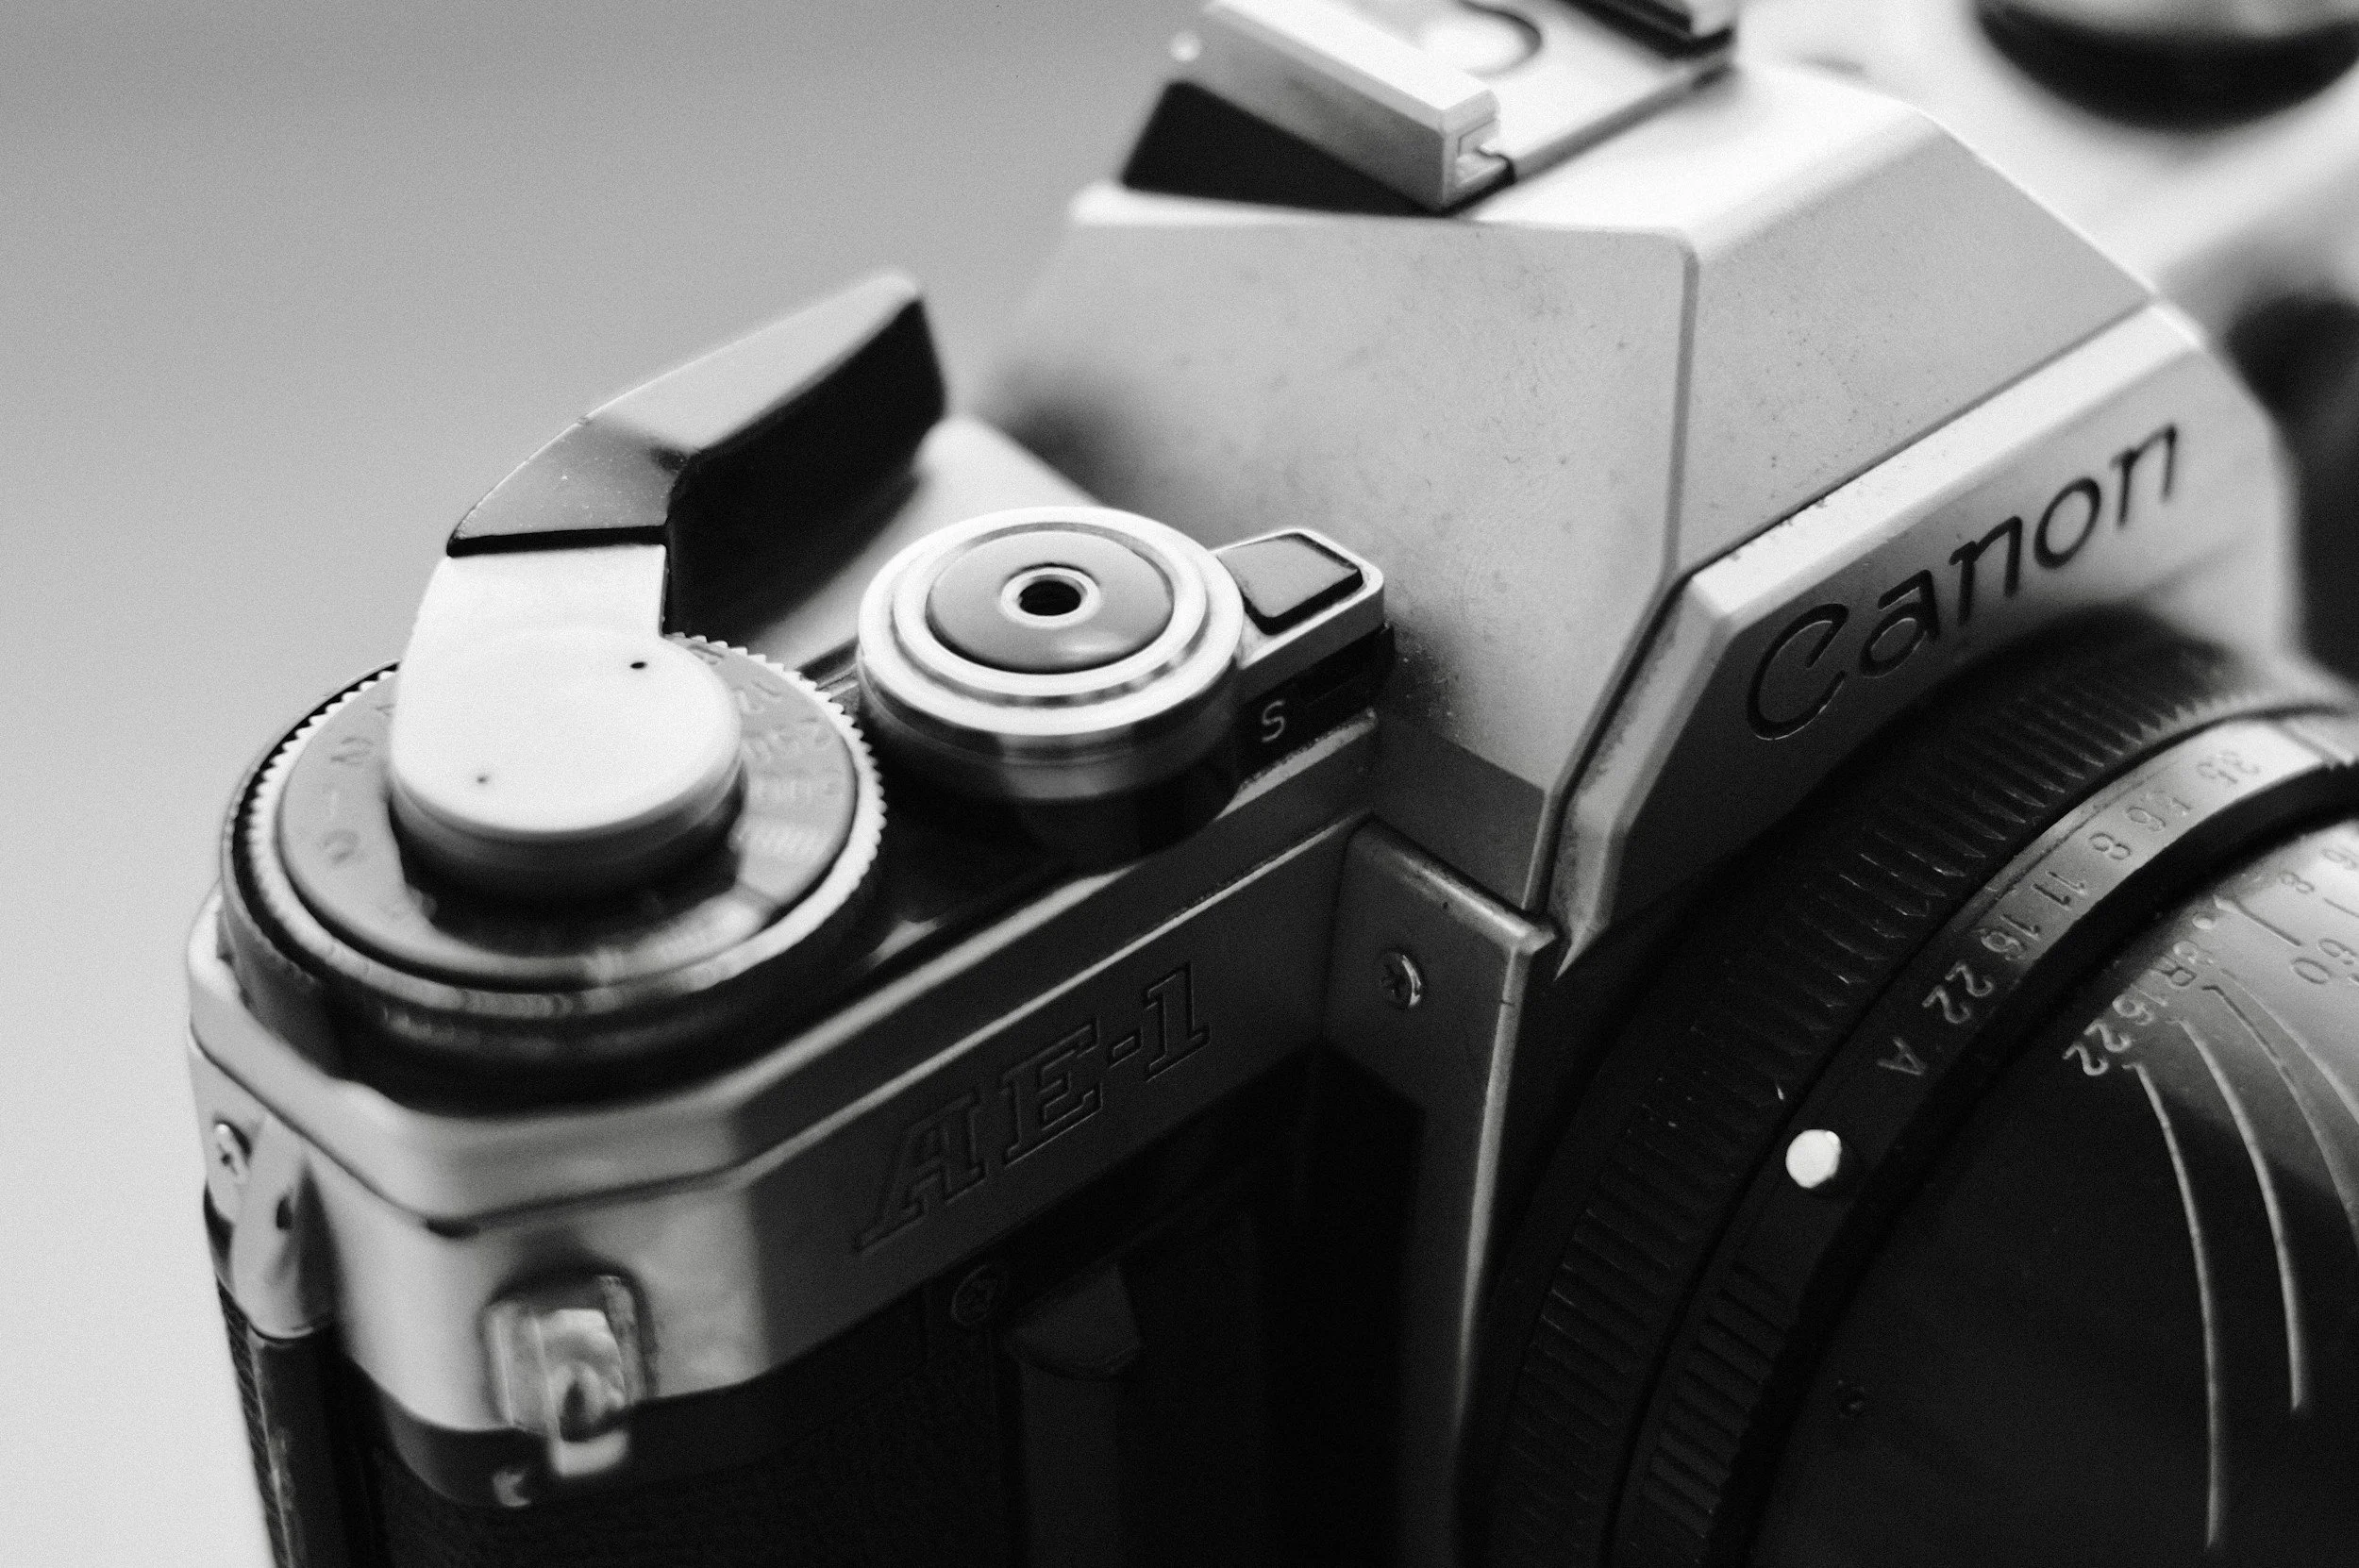
Manual 35mm SLRs (1970s-80s models): Try a Pentax K1000, Minolta X-370, Canon AE-1, or Nikon FM. These old school SLRs are fully capable and often available under $150 used. They’ll teach you photography basics without fancy automation, perfect for learning on a budget.
’90s Auto-focus SLRs: Don’t overlook the plasticky Canon Rebel or Nikon N series film cameras from the late 90s. They may not look retro, but they’re dirt cheap and super easy to use (often $20-$50 for a body). Plus, you can use any compatible lenses that come with them.
Point-and-Shoot Compacts: There are plenty of simple 35mm point and shoot cameras floating around secondhand for a few bucks. Skip the hyped models that influencers drove up in price (looking at you, Contax T2). Instead, grab an old Canon SureShot, Olympus Stylus Zoom, or any off-brand compact – they often have decent lenses and are fun to shoot.
Money-Saving Tip: Avoid disposable cameras. Those single-use film cameras might seem cheap at ~$15 each, but processing costs make them pricey in the long run. Instead, invest in a reusable camera with a similar look if that’s what you’re looking for. For example, the Ilford Sprite 35-II or Kodak M35 are new, reloadable 35mm cameras that cost around the same as a couple of disposables. You’ll be able to shoot roll after roll without buying a new camera each time! Your wallet (and the environment) will thank you!
Also, consider alternative formats if you’re adventurous. Half-frame 35mm cameras (like the Olympus Pen or the newer Pentax 17, or Kodak Ektar H35) let you capture 72 shots on a 36 exposure roll by using only half a frame per photo. That’s double the images for the same cost in film. It does mean smaller image size per photo, but for small prints or social media, it’s a clever way to stretch a roll of film further.
2. Choose Budget Friendly Film Stocks

Film prices vary widely, so choosing budget film stocks can save a lot. You might lust after popular pro films like Portra or Tri-X, but there are cheaper alternatives that still produce lovely images. Here are some affordable film options to get more bang for your buck:
Kodak Gold 200: A classic consumer color film with warm tones. It’s usually much cheaper than Kodak’s pro films. Perfect for sunny days and general use, Gold 200 gives vibrant results and costs significantly less per roll than Portra.
Kodak Ultramax 400: A versatile ISO 400 color film that’s often priced well for a 3-pack. Ultramax has punchy colors and decent low light performance. It’s great as an all purpose film when you want higher ISO on a budget.
Fujifilm Consumer Films: If you can find Fuji 35mm films like Fujicolor 200 or 400, they’re often competitively priced. Fuji’s tones tend to be cooler (nice greens and blues), offering a different palette at a friendly price. (Note: Fuji has scaled back film production, so availability can be hit or miss, but if you spot a deal, grab it!)
Lomography Color Negative: Lomography offers 35mm films (100, 400, 800 ISO) that are often cheaper than big-name brands. They have a fun, vintage look and usually come in multi-roll packs that lower the cost per roll.
Budget Black and White Films: For monochrome lovers, check out Ilford’s Kentmere 400 or Kentmere 100. These are Ilford’s affordable line, great for practice and experiments. Similarly, Fomapan 400/200/100 (from Foma) or Arista EDU Ultra (rebranded Foma sold by some retailers) are among the cheapest B&W films you can buy. They have a classic grainy character and are perfect for learning without worrying about wasting expensive film.
Ilford HP5 Plus: This B&W film isn’t the absolute cheapest, but it’s usually less expensive than Kodak’s Tri-X 400 and very beginner-friendly. HP5 is flexible (rated ISO 400 but can be shot in various conditions) and forgiving in development. When bought in bulk or on sale, it becomes quite economical for a high quality film stock.
Money-Saving Tip: Buy film in multi-packs. Single rolls bought from the drugstore are marked up. Instead, purchase 3 packs or 5 packs from online retailers or camera stores. You’ll often save a few dollars per roll. Also, keep an eye out for expired film lots or estate sales. Expired film can be hit or miss (colors can shift over time), but if you find a batch of cheap, expired rolls, they’re great for experimental shooting or learning without pressure. Just be sure to shoot test rolls first to gauge how the film handles if it’s old.
3. Buy Film in Bulk and Load Your Own
Taking the film savings a step further, consider bulk loading your 35mm film. This is a pro secret that can dramatically cut costs if you shoot a lot (especially in black and white). Here’s how it works: you buy a 100-foot bulk roll of film and load it into reusable cartridges yourself, getting around 18 rolls of 36 exposures (give or take) from that one bulk can. The upfront cost for 100 feet of film might be the equivalent of 8–10 pre-loaded rolls, but you’re getting nearly double that amount of shooting out of it. Over time, it’s much cheaper per roll.
Bulk loading does require a few supplies: a bulk film loader (a light tight box to hold the film roll), some empty reusable 35mm cassettes, and a darkroom changing bag or completely dark closet to get it set up. It sounds technical, but many analog photographers find it straightforward after doing it once or twice. Load up 10 cartridges in an evening and you’re set for a long time at a fraction of the cost. Kentmere 400, Ilford HP5, or Fomapan are popular B&W films sold in 100’ bulk rolls. Some niche vendors even offer color film in bulk rolls occasionally.
If bulk loading isn’t for you, you can still save by buying film in bulk quantities (not just 100’ rolls). For instance, some retailers give price breaks if you buy 10 roll propacks or bricks of film. Team up with a friend and split a bulk order to hit a volume discount. You’ll each save money in the end.
4. Develop Your Own Film at Home

One of the biggest ongoing costs in film photography is paying labs to process your film. The secret weapon to shooting analog on a budget is to develop your film at home. Home developing can sound intimidating, but for black-and-white film it’s surprisingly easy and inexpensive. And even color film (C-41 process) can be done at home with the right chemistry and a bit of practice.
Why develop at home? Because labs charge per roll, often $15 or more just for developing (and even more for scans or prints). By investing in a basic development setup, you can process rolls for just pennies on the dollar after the initial kit is bought. Here’s what you need to get started:
Developing Tank and Reels: A light right plastic tank with spools (~$20-$30 new, or cheaper used). This lets you pour chemicals in and out while keeping the film in darkness. It’s reusable for countless rolls.
Chemicals: For black and white, you typically need a developer, stop bath (or just water rinse), and fixer. You can buy a starter chemical kit for B&W for under $20 that will develop many rolls (usually liquid or powder concentrates you dilute). Popular cheap developers include Rodinal (very long shelf life) or D-76. For color film (C-41 process), kits from UniColor, Cinestill, or Tetenal provide the necessary chemistry to do color at home too – they cost a bit more upfront but can do 20-30 rolls or more in a batch.
Other basic tools: A thermometer (to get your chemistry to the right temperature, especially important for color), measuring jugs, and a timer or stopwatch. Also handy are film clips or clothespins to hang your negatives to dry, and a dark changing bag (~$15) to load your film into the tank if you don’t have a fully dark room.
The process for B&W development is straightforward. You mix your chemicals, pour in developer for the required time, rinse or stop, then fix the film, wash it, and you’re done. Many beginners are amazed at how magical and empowering it feels to see their images appear on negatives for the first time and it costs just a fraction of lab processing. There are tons of tutorials and communities online to help you learn (and once you do, you’ll wonder why you didn’t start sooner).
Color developing at home is a bit more sensitive to temperature and timing, but modern kits make it as simple as possible. If you shoot a lot of color, it can still be worth it. A C-41 kit might develop 20 rolls for the price of 3 lab developed rolls. Just be sure to work in a well ventilated space and follow the instructions. Many film shooters develop at home and then either scan the negatives themselves or take them to a lab just for scanning/printing (which is cheaper than full develop+scan service).
Bonus: Home development isn’t just about saving money. It also gives you more control. You can push or pull film on your own terms, experiment with techniques like stand development, or even mix your own DIY developers (like the insane, coffee caffenol experiments!) for pennies. It turns the process into a fuller part of the hobby, and every roll developed at home is money saved for more film or gear.
5. Scan Your Negatives Yourself

After you have your developed negatives, the next cost consideration is getting those images digitized or printed. Labs often charge extra for scanning your film to digital files, but you can eliminate that expense by doing DIY scanning at home. Scanning your own negatives requires a bit of effort upfront, but it quickly pays off and gives you control over the final image quality.
There are a few budget-friendly ways to scan (or digitize) film:
Affordable Flatbed Scanners: Flatbed scanners designed for photos often have attachments for film scanning. Models like the Epson V550/V600 series are popular for 35mm and medium format film. They aren’t too pricey (especially used) and can produce decent quality scans for web use and small prints. The process is as simple as placing your negatives in the holder, hitting scan, and letting the scanner do its thing.
Dedicated 35mm Film Scanners: If you want a step up in quality, look for a used 35mm film scanner (brands like Plustek, Pacific Image, or older Nikon Coolscans). These devices are made just for scanning negatives and slides, often yielding sharper results. They cost more than flatbeds, but you might find a bargain second-hand. Even a new Plustek is an investment that will save money long-term if you shoot a lot.
DSLR or Mirrorless “Scanning”: If you already have a digital camera, you can photograph your negatives instead of using a scanner. This method has become very popular. You’ll need a macro lens (or extension tubes), a stable setup (like a copy stand or tripod), and a light source (an LED light panel or even the sun through a window with a diffuser). Essentially, you take a high-resolution photo of each negative, then invert the colors using software. This can yield excellent results – often faster and sharper than flatbeds – once you get the hang of it. Plenty of tutorials exist, and the cost is minimal if you have the gear. Even if you don’t have a fancy camera, some people use their smartphone with a macro attachment and a backlight to capture negs in a pinch!
Whichever method you choose, scanning at home means you’re not paying a lab $5-$15 per roll for that service. Over time, the scanner or setup pays for itself. It also lets you scan at your preferred resolution and color-correct or edit the images to your taste. Affordable analog photography isn’t just about shooting. It’s also about saving on the post processing. Plus, there’s a satisfaction in learning to coax the best image out of your negatives on your own.
One more tip, if a dedicated scanner isn’t in the cards, many public libraries, schools, or community centers have photo scanners or darkroom labs that members can use. Check your local resources and you might find a low cost or free way to scan your film by borrowing community equipment.
6. Make Every Shot Count (Mindful Shooting Saves Money)
When you’re trying to shoot film on a budget, a simple philosophy helps a lot: shoot intentionally. Unlike digital where you can fire off 100 shots to get one good one, film teaches you to slow down. Every press of the shutter has a literal cost, so you start to think more about each frame and that mindfulness can save you money in the long run by reducing wasted film.
Here are some ways to make each shot count:
Think before you click: It sounds obvious, but be deliberate. Compose your image carefully and ensure your settings are right (focus, exposure) before you press the shutter. Fewer throwaway shots means fewer rolls you need to buy and develop.
Learn basic metering: Getting exposures right will prevent ruined shots. You don’t need a fancy light meter – use the Sunny 16 rule on bright days (it’s free!) or a free smartphone light meter app to help judge settings. Properly exposed negatives are easier to work with and you won’t feel the need to bracket exposures (which eats up film).
Bracket selectively (or not at all): In digital, bracketing (taking multiple shots at different exposures) is common. With film, bracketing doubles or triples the cost for one scene. Try to nail the exposure in one go, or at most take a second backup shot if it’s a once in a lifetime moment. For everyday shooting, trust yourself and shoot one good frame instead of five.
Use 36-exposure rolls (or even bulk up to 36): If you have the choice, 36 exposure rolls generally cost only a bit more than 24 exposure rolls, but you get 12 extra shots. That’s more value for money. Just be sure you’ll shoot the whole roll in a reasonable time. You don’t want it sitting half finished forever.
Practice on digital: If you own a digital camera too, you can practice tricky shots or compositions on digital first to get your settings dialed in, then shoot on film. That way you’re less likely to waste a frame on a wild guess. It’s like using digital as your Polaroid test strip. (Of course, if you don’t have a digital camera, no worries just take your time with film and maybe take notes to learn from any mistakes.)
Finally, embrace the film mindset: slowing down and enjoying the process. Not only will you create better images, but you’ll naturally save money by shooting fewer, more meaningful frames. Quality over quantity is the analog way. Your wallet benefits, and so does your photography skill in the long run.
7. Leverage Thrift and Community Resources
Don’t go it alone! The film photography community is a goldmine for budget shooters. By tapping into collective knowledge and second hand networks, you can find great deals and even free supplies. Here’s how leaning on the community can help you save money:
Join Local Photography Groups or Online Forums: Online communities (like film photography subreddits, Facebook groups, or forums) often have buy/sell threads or members giving away gear for cheap. Likewise, local camera clubs or photo meetups might have swap meets. It’s not uncommon for an old-timer to donate a box of expired film or an extra camera to an eager newbie at a meetup. Being active in the community means you’ll hear about these opportunities.
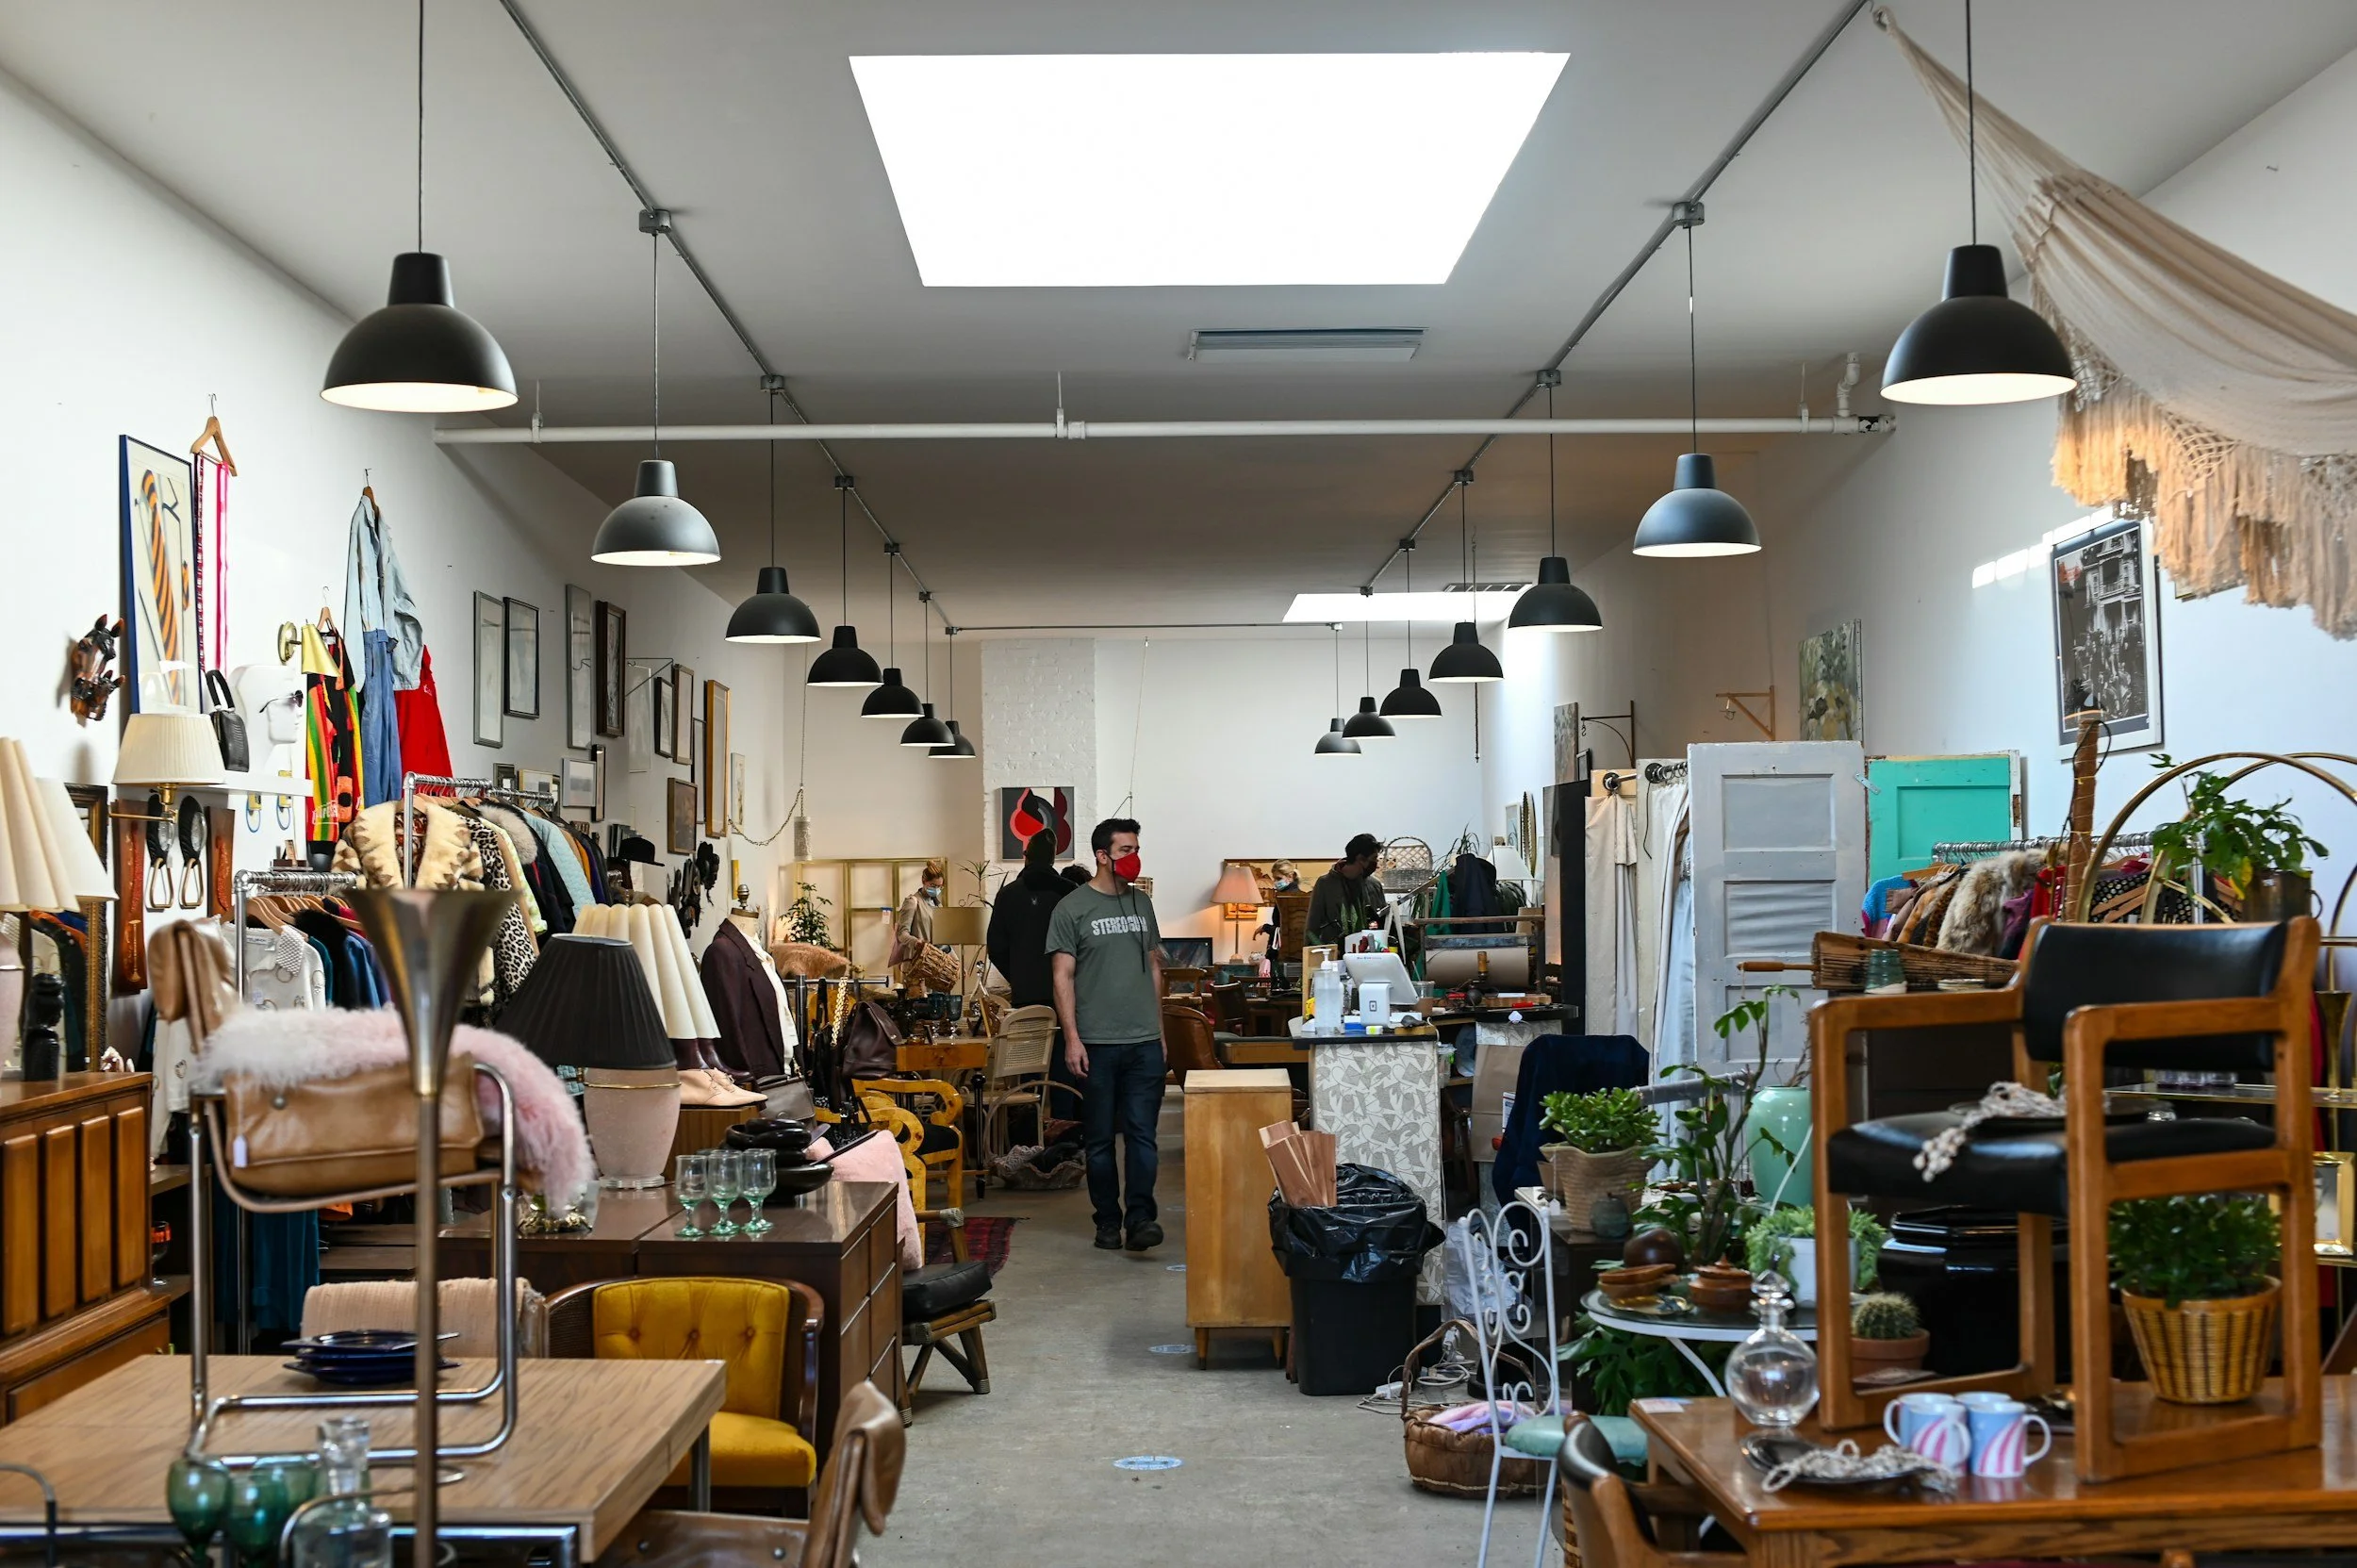
Attend Camera Swaps and Estate Sales: Keep an eye out for camera swap meets, garage sales, or estate sales especially if they list photo equipment. These can be treasure troves of cheap analog gear. Haggling is expected. Don’t be shy to bundle items for a better price. (Pro tip: go on the last day of an estate sale when they’re eager to unload things. You might score a camera for a few dollars.)
Follow Film Photography Blogs and Newsletters: Many blogs (just like the one this post is on!) share tips about upcoming sales, discount codes for film labs or stores, and DIY tricks. Some newsletters alert subscribers to film stock price drops or new affordable products. Staying informed can save you money by timing your purchases or discovering cheaper alternatives.
Share and Trade with Friends: If you have fellow photographer friends, consider pooling resources. Trade lenses or borrow each other’s gear instead of each buying everything. Split bulk film purchases or chemical kits. If you both shoot, say, B&W, sharing a $80 5 liter fixer kit that lasts a year is smarter than each buying a smaller, costlier kit.
Reuse and Recycle Gear: The community often has creative reuse ideas – from repurposing household items for darkroom use (e.g. using a $1 store turkey baster as a chemistry pipette) to 3D-printing camera parts. Before buying an expensive “official” accessory, ask around or search forums for a DIY alternative. The collective wisdom of thousands of film shooters can often present a penny pinching solution you hadn’t considered.
By immersing yourself in the analog community, you’ll not only save money but also gain knowledge and camaraderie. Film shooters are generally a friendly bunch who love to help others keep the hobby alive (and affordable). Plus, the stories you’ll get, like how you acquired that $5 thrift store camera that became your favorite will become a cherished part of your photography journey.

Conclusion: Enjoy Analog for Less
Shooting film on a budget is not only possible, it can be incredibly rewarding. When you embrace thrifty habits, you often end up more connected to the craft: carefully choosing your camera, learning to develop and scan, and making each frame count. These practices don’t feel like sacrifices they become part of the fun that is film photography.
Remember, the goal is to keep the process sustainable for your finances and enjoyable for you. Maybe you start with one or two of these tips and gradually adopt more as you get comfortable. Every little bit helps. Over time, you’ll find your groove as a budget-conscious film photographer, shooting happily while saving money for what truly matters (maybe more film, or that special camera you’ve been eyeing!).
Film photography on a budget is all about creativity, not just in your photos, but in how you approach the hobby itself. So get out there with your thrifty finds, load up that cheap film, and have a blast creating analog memories without breaking the bank. Happy shooting!